Windows 7 allows you to customize the appearance of the desktop, icons, background, and other items using themes. There are third-party themes available out there, but you have to patch parts of the Windows system in order to install third-party themes.
There are even some hidden themes within Windows 7 (see our post, Easily Access Hidden Windows 7 Themes). We found another easy, free method of customizing the appearance of Windows 7 (32-bit or 64-bit) using a tool, called CustoPack Tools. This tool also allows you to change the appearance of Windows Vista (32-bit or 64-bit) and Windows XP (32-bit only).
This two-part series of posts shows you how to install and use CustoPack Tools to easily customize the look of Windows.
Download CustoPack Tools from
http://www.custopack.com/en/home.
Install CustoPack Tools
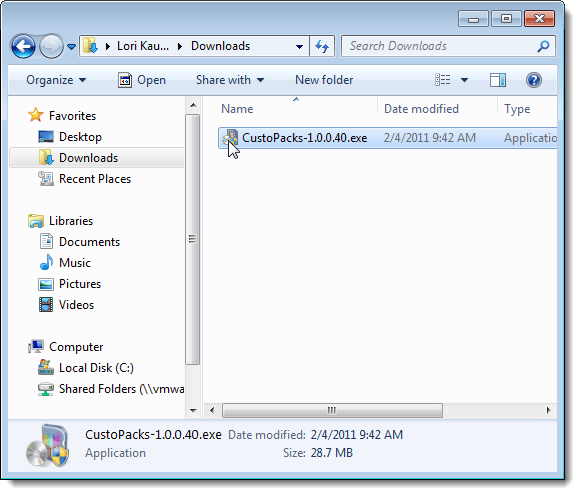
To install CustoPack Tools, double-click on the .exe file you downloaded.
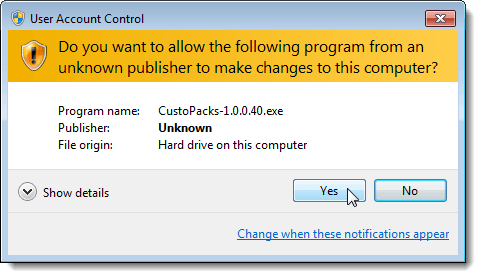
If the User Account Control dialog box displays, click Yes to continue.
NOTE: You may not see this dialog box, depending on your User Account Control settings. See our post, Windows 7 – How to configure UAC (User Account Control), for more information.
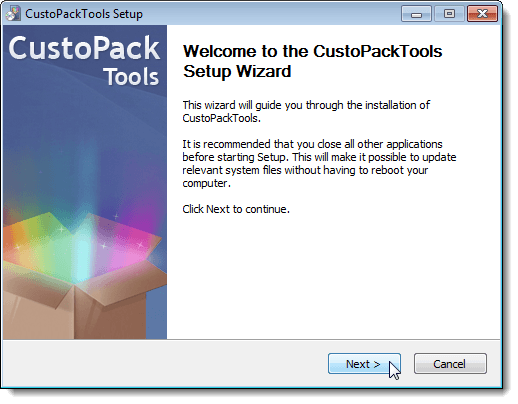
The CustoPack Tools Setup Wizard Welcome screen displays. Click Next.
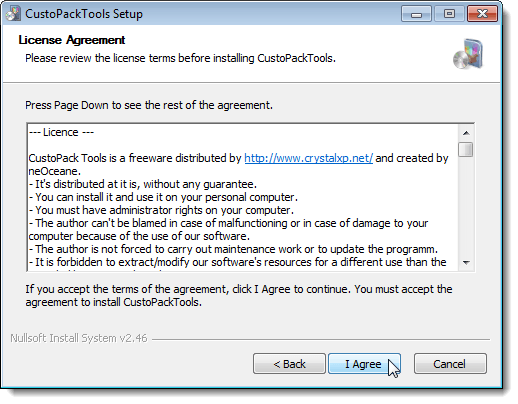
Read through the License Agreement and click I Agree to continue.
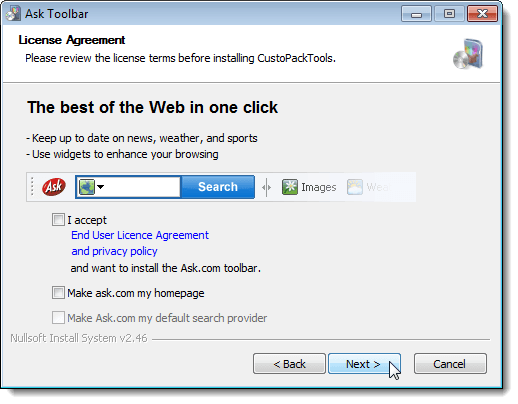
If you want to install the Ask Toolbar in your web browser, click the I accept check box so there is a check mark in the box. You can also choose to make ask.com your homepage and your default search provider. We chose to turn all of these options off. Click Next.
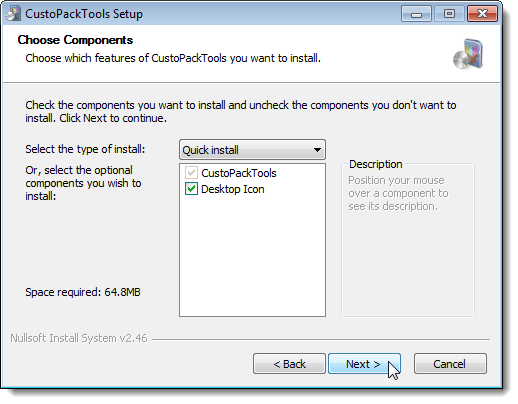
The Choose Components screen displays. Select either Quick Install or Custom from the Select the type of install drop-down list.
NOTE: Both options seem to provide access to the same components in the list.
CustoPack Tools must be checked, so, you cannot turn that check box off. If you want a shortcut on the desktop for CustoPack Tools, select the Desktop Icon check box. Click Next.
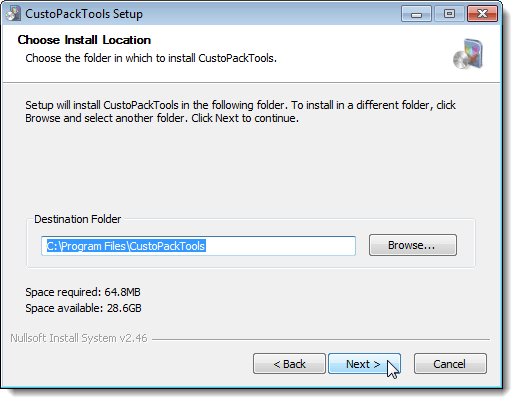
The Choose Install Location screen displays. If you want to install CustoPack Tools to a different location other than the default location listed in the edit box, use the Browse button to select another location. We accepted the default location. Click Next to continue.
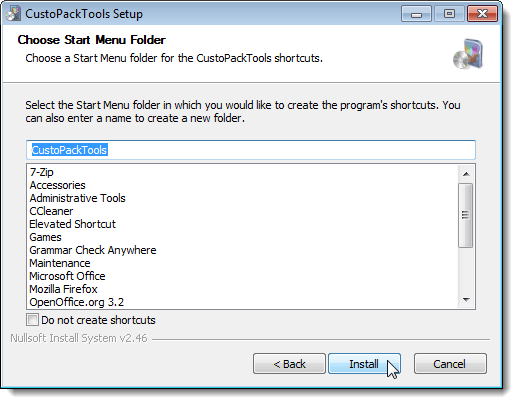
The Choose Start Menu Folder screen displays. If you want to add the shortcuts for CustoPack Tools to a different Start menu folder than the default listed in the edit box, use the Browse button. We accepted the default Start menu folder. Click Next to continue.
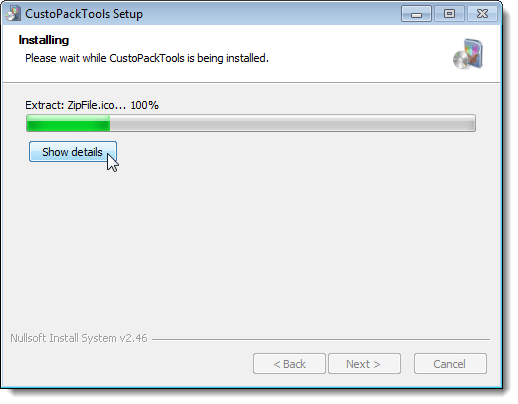
The Installing screen displays the progress of the installation. To see the details of the installation, click the Show details button.
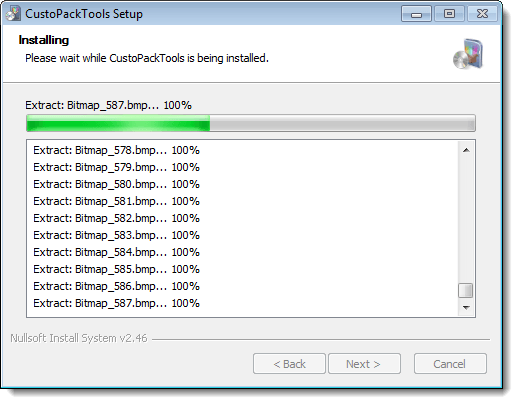
A list displays below the progress bar, reporting the actions being taken during the installation.
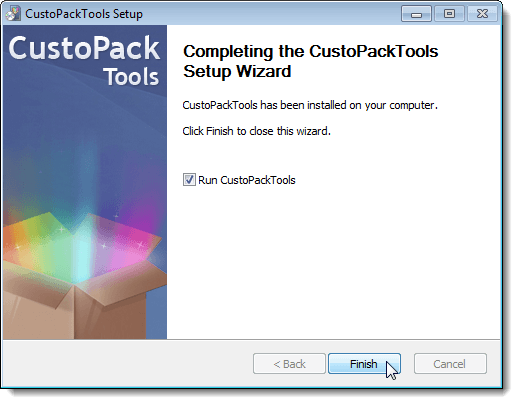
When the installation is finished, the Completing the CustoPack Tools Setup Wizard screen displays. If you do not want to start CustoPack Tools automatically when you close the Setup Wizard, select the Run CustoPackTools check box so there NO check mark in the box. The check box is turned on by default. Click Finish.
View Available CustoPacks
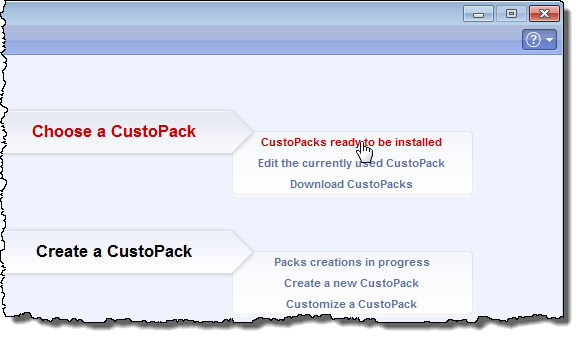
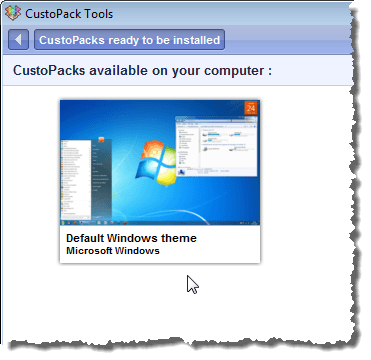
The main CustoPack Tools dialog box displays. To view the CustoPacks included with CustoPack Tools ready to be installed, click the CustoPacks ready to be installed link under Choose a CustoPack.
A screen displays showing the one CustoPack available on your computer when you first install CustoPack Tools, the Default Windows theme.
Download CustoPacks
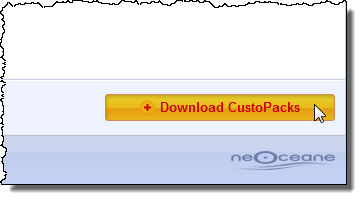
To download additional CustoPacks, click the Download CustoPacks button in the lower, right corner of the CustoPacks ready to be installed screen.
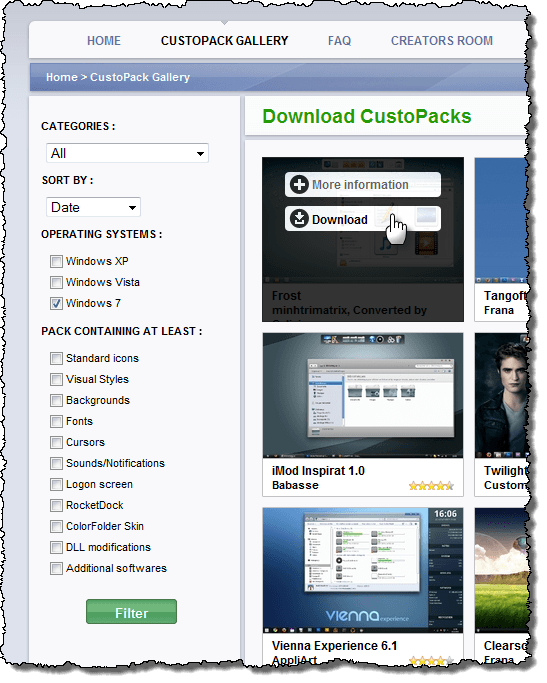
The CustoPack Gallery web page displays. You can select to show CustoPacks in a specific categories or all categories by selecting an option from the Categories drop-down list. If you want to sort the CustoPacks by something other than the default option of Date, select an option from the Sort By drop-down list.
Select the check box under Operating Systems for the version of Windows you are using. You can further filter the list of CustoPacks by selecting check boxes under Pack Containing at Least.
To download a CustoPack, move your mouse over the selected CustoPack and click the Download button that displays.
Wrap Up
This was the first post in a two-part series about installing and using CustoPack Tools to easily change the look of Windows.
In this post, we covered installing CustoPack Tools, viewing CustoPacks available on your computer, and downloading CustoPacks.
Stay tuned for Part II, where we will cover installing a CustoPack, creating your own custom CustoPacks, and changing CustoPack Tools options and configurations.

No comments:
Post a Comment