When you want to completely erase data from a hard drive, zero fill is one of the most thorough methods. Even after a drive has been formatted multiple times, it’s still possible to recover data from it.
The easiest way to ensure that that data is not recoverable is to write data over it. This is where the zero fill comes in handy. Every time you run the zero fill process on a hard drive, it writes zeros over your existing data. The more times you run the zero fill process, the harder it will be to recover anything.
This process is highly recommended if you are planning on selling a device with a hard drive or flash memory, or if you buy or receive a used computer from someone. You are protecting yourself, and in some cases the person you received the device from, by thoroughly wiping the existing data.
Many hard drive companies provide utilities that can perform a zero fill on your drive. If you cannot find a zero fill utility for your drive, you can use a Linux Live CD to do it for free. Linux Live CDs allow you to try out different linux distributions without installing the operating system on your hard drive.
When you insert the CD and boot from it, a working version of the operating system loads into the PCs memory, and you can use most of the available functions to get an idea of how it works without committing time and energy to an installation. Both Knoppix and Ubuntu have this functionality. We used Ubuntu for this example.
Download and Burn a Ubuntu Image
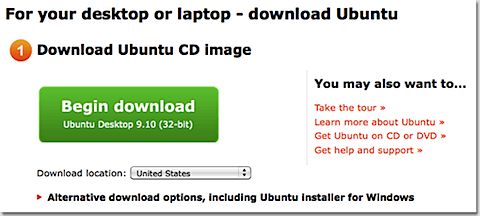
1. Load the Ubuntu web site, and then click on Download Ubuntu.
2. Select your Download location from the drop-down menu, and click Begin Download.
3. When the download starts, click Save.
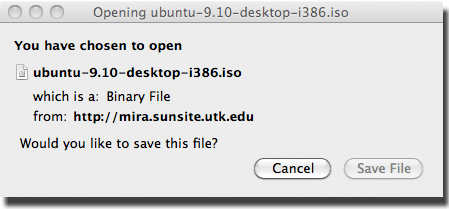
4. When the disk image is done downloading, burn it to a CD.
Loading Ubuntu
1. Once you’ve burned the CD and verified that it works, reboot your PC from the CD rather than from your hard drive.
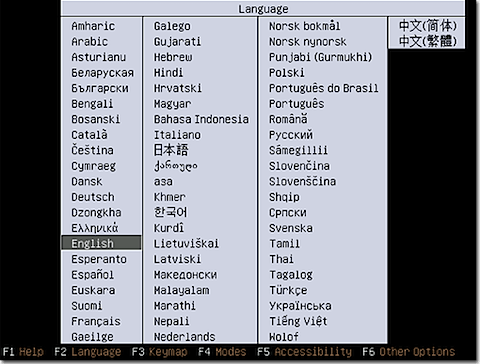
2. When Ubuntu boots, you will be prompted to choose a language from the menu. Choose English or whatever language you are most comfortable with.
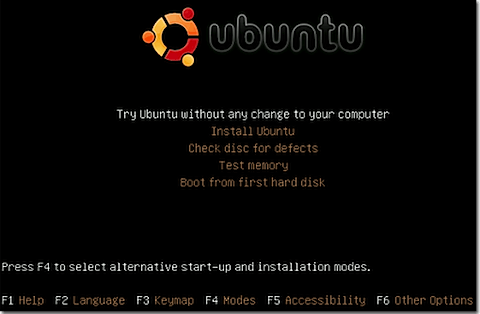
3. The main Ubuntu menu will load. Choose Try Ubuntu without any change to your computer.
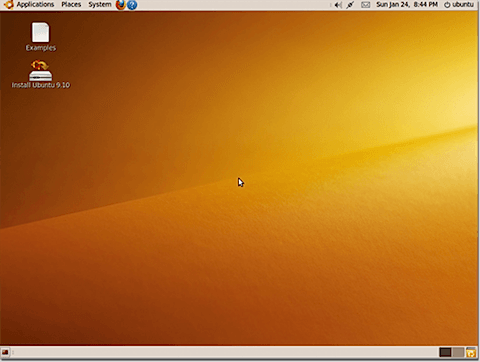
4. The Ubuntu desktop will load.
Perform Zero Fill
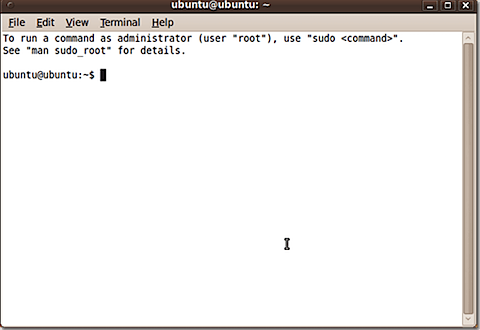
1. Click on Applications, Accessories, and then Terminal.

2. The Terminal window will load.
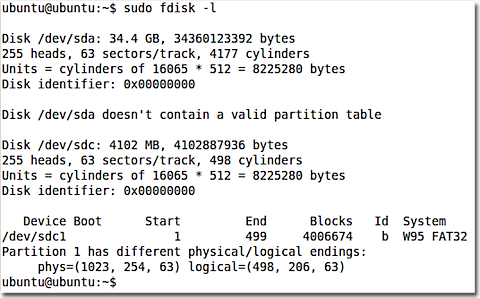
3. Choose the hard drive you would like to zero fill. Type sudo fdisk -l and a list of all of the drives and partitions on the system will be displayed.
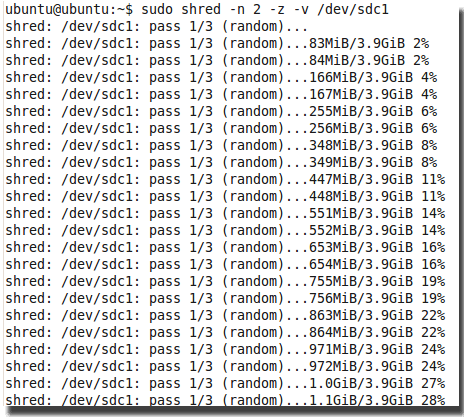
4. Use the shred command to zero fill the partition of your choice. If you wanted to do two zero fill passes on the partition you would type sudo shred -n 2 -z -v /dev/sdc1 where -n 2 is the number of passes, -z overwrites the data with zeroes, -v displays the progress of the operation, and /dev/sdc1 is the partition you are overwriting. Hit Enter to begin the process.
5. Ubuntu will display the progress of the operation and let you know when it is completed.

No comments:
Post a Comment