Ubuntu offers a nice wallpaper slideshow which cycles through outer space images every few hours, but doesn’t provide a way to customize it or create your own. Fortunately, it turns out to be pretty simple. You’ll need to get down and dirty with a little bit of XML creation, but as long as you understand the slideshow document’s XML syntax, the process goes fairly quickly.
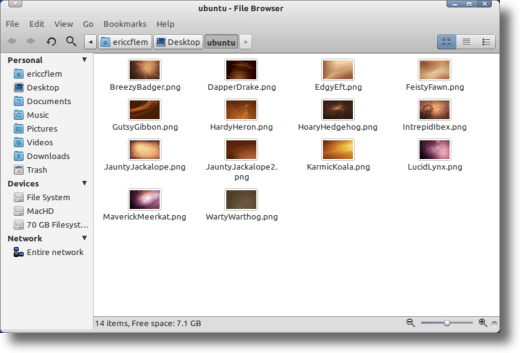
The first step is gathering your images into a folder. You can create a slideshow from wallpapers scattered all over your hard drive, but it’s a lot easier if they’re together.
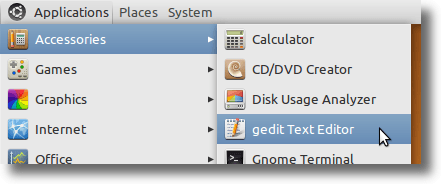
Next, open a text editor (we’re using gedit). In Ubuntu, gedit can be found under the Applications menu, then the Accessories submenu.
This will open a new document for us. Now we need to set up the XML document. Type the following tag into the new document:
Now hit Enter a couple times and type the background tag’s closing tag:
The two are identical except for the slash. The
Next, type the following immediately below the first tag:
Note: from now on, items in red will be the variables you have control over, such as transition duration, file names, etc.
This tells the wallpaper module to start playing the slideshow at an exact time, in this case January 1, 2011, at midnight. In practice, since that date has already come and gone, our slideshow will start immediately after being selected. If you set the starttime tag of your slideshow sometime in the future, however, the slideshow won’t begin rotating through your images until the specified date and time.
The next tag is the
Note: Substitute the path to the images in the examples to that of your own images, both here and below.
This
/usr/share/backgrounds/name-of-your-slideshow/
In this example, however, the slideshow will be placed in the home directory of a single user.
If you were curious as to why we 1795 seconds (just 5 seconds shy of 30 minutes), here’s why. The next step, the transition, is going to last for five seconds. It looks like this:
The first and last tags (
In every transition, whichever image we displayed during the previous
Once you have done the previous two steps, you will alternate between new sets of
Your beginning Background Tag
Starttime Tag
Static Tag (for Image A)
Transition Tag (Image A to Image B)
Static Tag (Image B)
Transition Tag (Image B to Image C)
Static Tag (Image C)
Transition Tag (Image C to Image D)
Static Tag (Image D)
Transition Tag (Image D to Image A)
The final closing Background Tag
When you’re done adding images, keep in mind two things. First, the final transition should be from your final image (Image D in the above example) to your first image (Image A). This ensures that the loop, from the end back to the beginning, is a smooth one.
Second, remember the slideshow template is “finished” by adding a final tag, if necessary:
So if your document doesn’t have the tag at the very end, make sure it does before you attempt to save and use the slideshow.
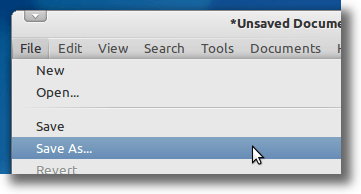
To save our file, go to the File menu and choose the Save As option.
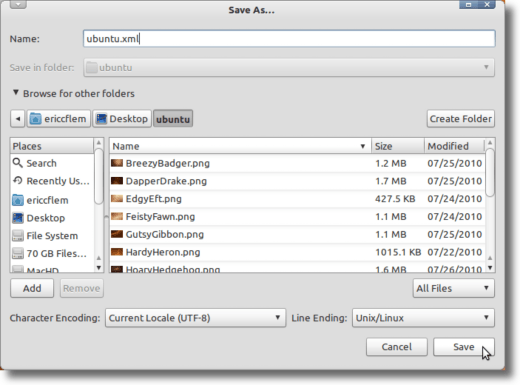
Now select a name and save location. The name can be whatever you want (but be sure to use “.xml” as the extension), then save it in the same folder as your slideshow images.
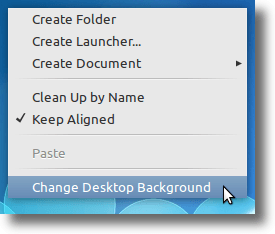
The only thing left to do now is set our new slideshow as the active wallpaper. To do so, open up the background preferences pane. Right-click on an empty part of the desktop, and select the Change Desktop Background option.
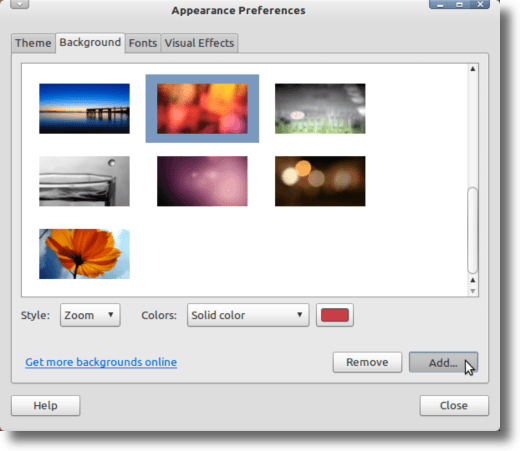
When the Appearance Pane opens to the Wallpaper tab, simply click the Add button.
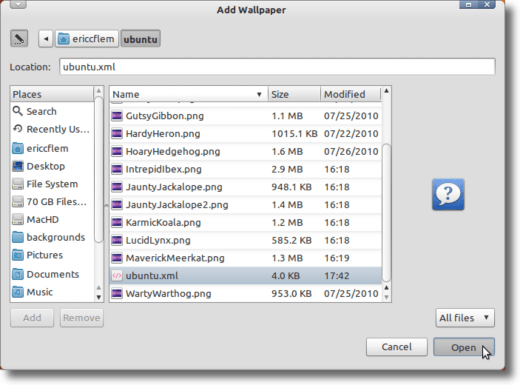
Navigate in the file picker to your image folder. Make sure the settings are configured so you can see All Items (the pop-up menu in the lower right), and select the XML file we created earlier.
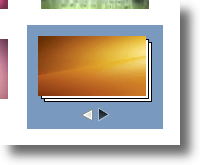
If everything was done correctly, you should now see your slideshow among the other wallpaper options (it looks like a little stack of images).
Click it, and your desktop should change to the first image in your slideshow, and will begin rotating through at whatever interval you set.
Okay! That’s it. To be sure, there are GUI applications that will do the same thing as we just did by hand (one can be found here), but while there’s certainly something to be said for point-and-click ease, there’s also something to be said for the understanding and experience gained from knowing how things work. Hopefully this provides the latter.

No comments:
Post a Comment