If you’re looking to extract the audio from Flash Video files (FLV format), there are a few options available. Unfortunately, the choice many of them make for you is to encode the audio stream to a different format. In some cases this isn’t a problem, but if you’re trying to keep the audio identical to what’s inside the video, then you want something that extracts the audio in one piece. FFmpeg, a multimedia toolkit for Linux, can do this with ease.
Download and Install FFmpeg
First you’ll need to download and install FFmpeg. Most distributions have FFmpeg in the software repositories, although some support may have been stripped out of it for software patent reasons. Regardless, for our purposes a fairly plain version of FFmpeg will do. In Ubuntu, you only need to use the following command in the Terminal:
![]()
This command will also install quite a few extra libraries (along with FFmpeg), needed for device, format and filter support.
Extracting Audio From FLV Files
Once installed, using FFmpeg is pretty simple, as long as you know which commands to use. There are hundreds of different options, a special syntax to use in different circumstance, and the sheer power and complexity can be a bit overwhelming. Thankfully, for our job, FFmpeg is pretty straightforward.
The first thing we need to do is find out exactly what codecs are used in our FLV file. To do that, open the Terminal (if it isn’t still open), and change to the directory where the FLV file is located. In our example, the file is called Bohemian_Rhapsody.flv and it is located on the Desktop. So the command to type would be:
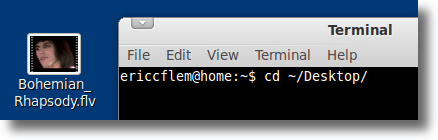
This moves the Terminal program into the same directory (the Desktop in this case), so all of our commands will be active there. This is important because if you tell a program (like FFmpeg) to act on a file, only the file isn’t where the Terminal is “looking” then you will get errors.
Now that we’ve used cd to change directory to the Desktop, we need to type the following command:
![]()
Note: if you’re trying this along with the tutorial, substitute the name of your file each time you see it used in the commands.
The above command is a bit of a hack, and you’ll get errors, but don’t worry. What we’ve actually told ffmpeg is that Bohemian_Rhapsody.flv is the input file. That’s what the “-i” tells ffmpeg.
When we hit Enter after the command, we haven’t told ffmpeg exactly what to do with the file, so it spits out an error. No biggie. Just ignore it. Because along with the error, it also gives us information about the file. The part we’re interested in will look something like this:
![]()
The above information tells us the following things. In order, it tells us that the stream is encoded using the AAC encoder, that it has a frequency of 44100 Hz (the correct sampling rate for burning to CD), that it is stereo, uses 16-bit samples, and has a bitrate of 107 kb/s. For extracting purposes, we’re most interested that the file has AAC audio. Knowing this, all we need to do is type the following command:
![]()
Here’s what the different parts of the previous command do:
ffmpeg – launches FFmpeg
-i Bohemian_Rhapsody.flv – provides FFmpeg with the name of the input file
-vn – tells FFmpeg to ignore the video track
-acodec copy – copies the audio track (instead of encoding to another format)
Bohemian_Rhapsody.m4a – name of the output file
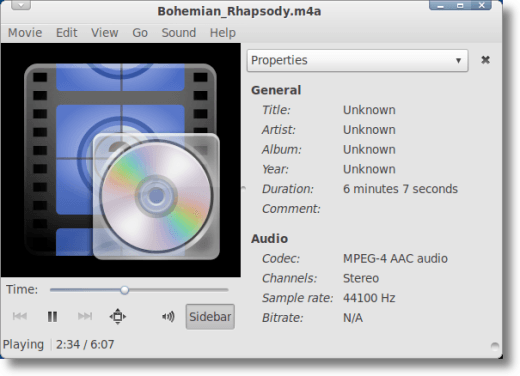
After typing the previous command, only a second or so should go by, and you should notice a new file on your Desktop, named Bohemian_Rhapsody.m4a, which will contain nothing but the original audio track from the original FLV file. Just open it up in your favorite media player and give a listen to make sure everything is as it should be.
It’s that simple. Of course, FFmpeg has many, many other options available. You can transcode the audio to a different format, for uploading to a cell phone, MP3 player, or WAV file. You can manipulate the video from the original FLV if you want, fool around with the bitrate, sample rate and number of channels.
And maybe you’ll want to learn that later, but for now you know one thing with certainty: it’s simple to use FFmpeg to extract audio from a file in FLV format. Simple, and fast.

No comments:
Post a Comment