For people wanting to archive their purchased DVDs, or simply wanting to take a few movies on vacation without bringing along a bunch of fragile disks, ripping a DVD is a good choice.
There are a lot of DVD ripping solutions out there, but if you’re looking for something that works well, is simple to use without giving up functionality, and that works on Mac, Windows and Linux, then Handbrake is the obvious choice.
Installing Handbrake is simple, so won’t be gone over in great detail here. First navigate to the Handbrake home page and click on the download link.
Once the download page loads, click to download the Mac disk image or the Windows installer. If you use Fedora, there are 32-bit and 64-bit binaries available, while Ubuntu users can use the provided PPA. If you want the source code, it’s also available. Once installed, you’ll find Handbrake in the usual places.
As mentioned, it’s available for Mac, Windows and Linux, but in this article, all screenshots will use the Linux version, for consistency. The procedures mentioned, however, will work on all versions.
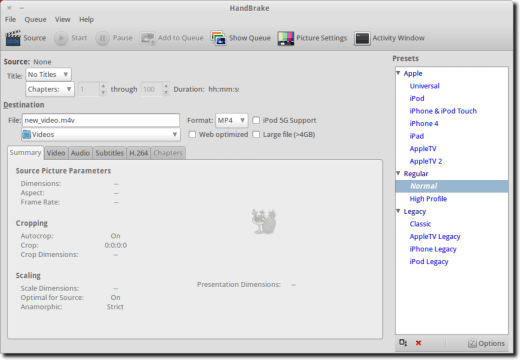
Once you’ve started Handbrake, you’ll see the following window.
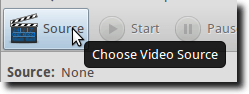
To access a mounted DVD, click the Source button in the toolbar.
Then, in the file picker that appears, find the DVD and click OK.
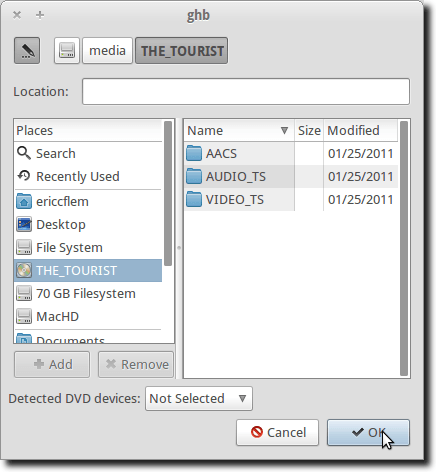
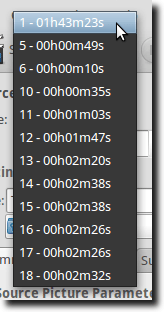
Once you’ve chosen the input DVD, Handbrake will scan it, looking for different titles.
![]()
This will bring up more than just the movie, unless the movie is the only thing on the disk. Trailers, special features, anything on the disk will be a title. Typically, however, Handbrake will choose the longest title and select it for you automatically. But if you want to choose a different title, pick it from the drop-down menu.
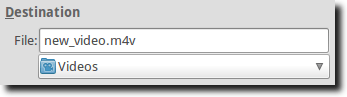
Once you’ve selected the title to rip, you’ll want to give your ripped file a name, and a location it will be saved.
It’s now time to start choosing our audio and video settings. If you want, choose a preset from the side panel. There are many to choose from.
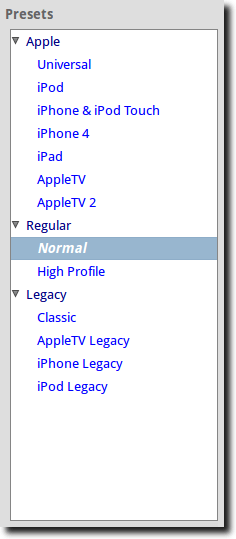
If you find a preset that meets your needs, you’re finished. Just hit the Start button. Or, if you’ll be performing a number of rips from the same DVD, hit the Add to Queue button. When you’ve added all your items to the queue, then hit the Start button.

If you’ll be wanting to choose the options for yourself, first choose a container format. Handbrake currently supports either M4V or MKV.
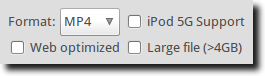
You can also select, by ticking checkboxes, whether the file should be web optimized, will be larger than 4 GB, or if it will be used on a fifth generation iPod.
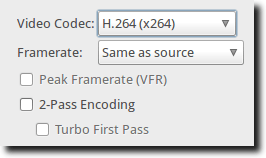
Once you’ve made that selection, click the Video tab. First, you’ll choose the video codec and framerate, as well as whether or not to use 2-pass encoding (which will take longer but provides better results).
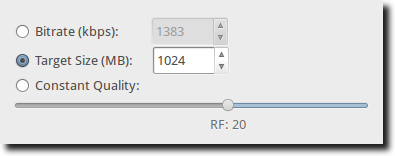
You’ll also select the bitrate for your video. If you want, you can use a quality setting. Lower numbers provide better quality video, while higher numbers offer smaller file sizes. Or if you have a size in mind (this is a good option for when you want to fit your rip to a particular size, like a CD), choose a target file size.
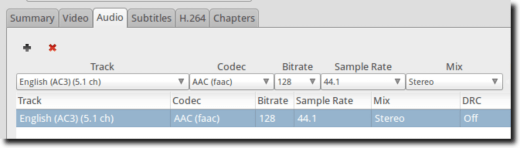
It’s now onto the Audio tab. Here you can select from any available audio track on the DVD. You can encode it to a new format (such as AAC or MP3), give it a new bitrate (to squeeze more audio into less space), change the sample rate (for DVD Audio playback), remix it to stereo, surround sound, and more.
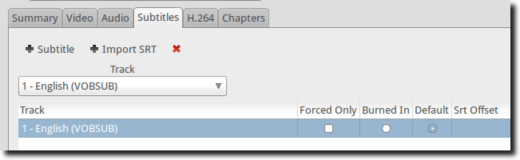
Now it’s onto Subtitles. This probably won’t be an option you’ll use with every DVD rip, but if you want, you can add a subtitle track to the rip. You can choose to burn in the subtitles (so they’re a part of the picture, and can’t be turned on or off), set them as the default option, or select them only when forced.
The next tab is called H.264 and offers a multitude of options related to the H.264 codec. This is a rather in-depth and detailed page.
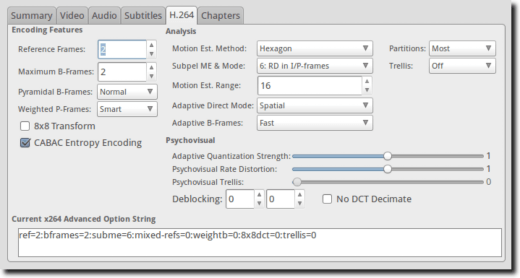
In fact, it’s in-depth and complicated enough to be one of those areas where you “look and don’t touch,” for the most part. If you know a particular setting needs to be a certain way for your device (such as a B-Frames setting for an iPod), then this is where to make the change.
After this is the Chapters tab.
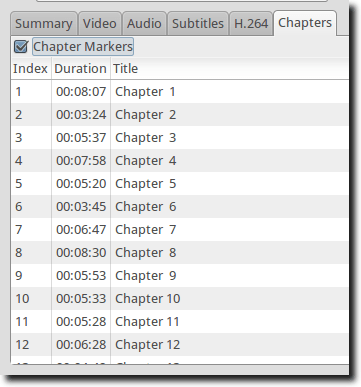
If you’ll want to keep the DVD chapters intact, make sure the checkbox is ticked. If it is off, your resulting file will have no chapter markings.
There’s really only one thing left, and that is the Pictures Settings button (in the top toolbar).

Click it, and you’ll come to an interface like this.
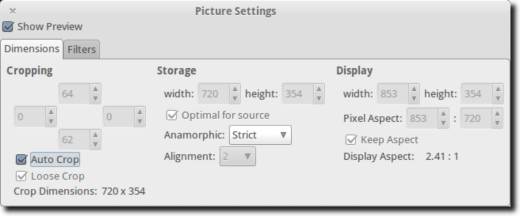
Here you can resize the final image, crop it, and more. On the Filters tab (not shown), you can change the picture to grayscale, as well as deblock, denoise, detelecine, decomb or deinterlace.
Now… we’re ready to encode. Simply click the Start button (or Add to Queue, just as before), and the process will start. You can click the Show Queue button from the toolbar, and the Handbrake Queue will appear.
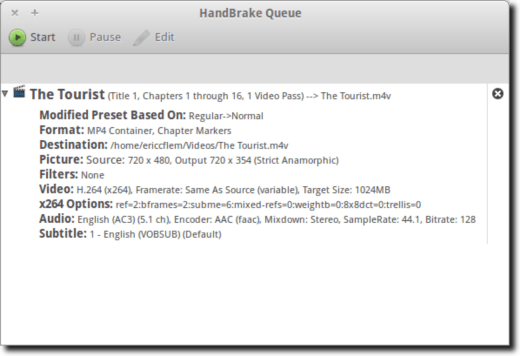
When the process is finished, you’ll hear a ding, and your newly ripped DVD file will be in its save location.
And that’s it! Handbrake is a great program, that can be simple (choose a preset and click Start), or a bit more detailed. It’s cross-platform, works well on all of them, and is completely free. In all regards, it’s a big winner and a fantastic choice for your DVD ripping needs.

No comments:
Post a Comment