User Account Control (UAC) notifies you before changes are made to your computer by programs or by changing Windows settings that require administrator-level permission. The default User Account Control setting notifies you when programs try to make changes to your computer; however, you can control how often you are notified by User Account Control by adjusting the settings.
We have previously showed you how to configure User Account Control in Windows 7 in our post, Windows 7 – How to configure UAC (User Account Control). We have also written about a free program that allows you to create a shortcut to run a program bypassing User Account Control (see our post, Turn Off User Account Control (UAC) for a Specific Application).
Normally, to configure User Account Control, you have to select Control Panel on the Start menu.
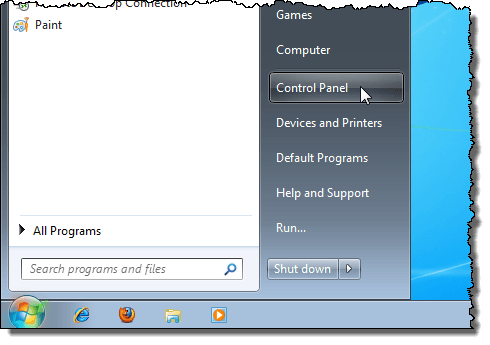
Then, you need to display the options on the Control Panel as Small icons using the View by drop-down list.
![]()
From the list of options, click User Accounts.
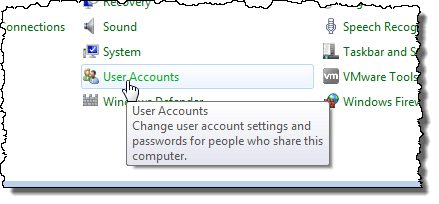
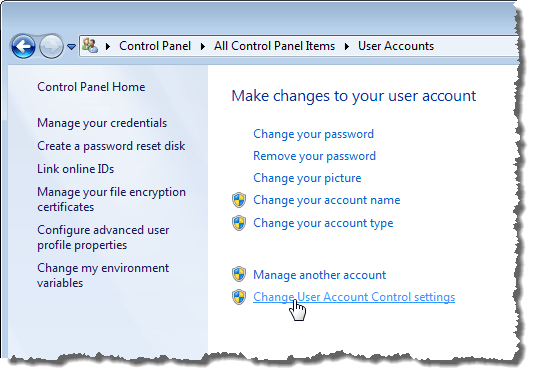
On the User Accounts screen, click the Change User Account Control settings link.
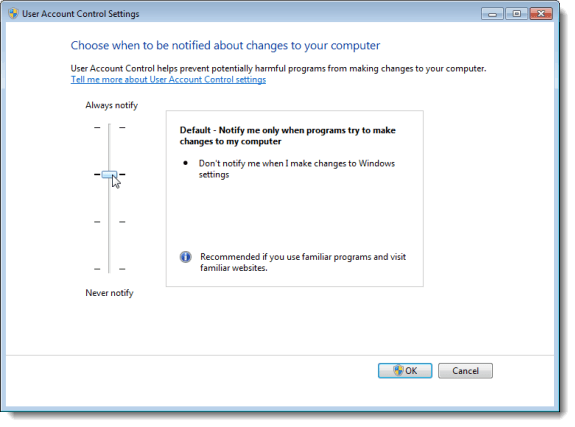
Finally, on the User Account Control Settings dialog box, click the level of security you want for User Account Control using the slider on the left.
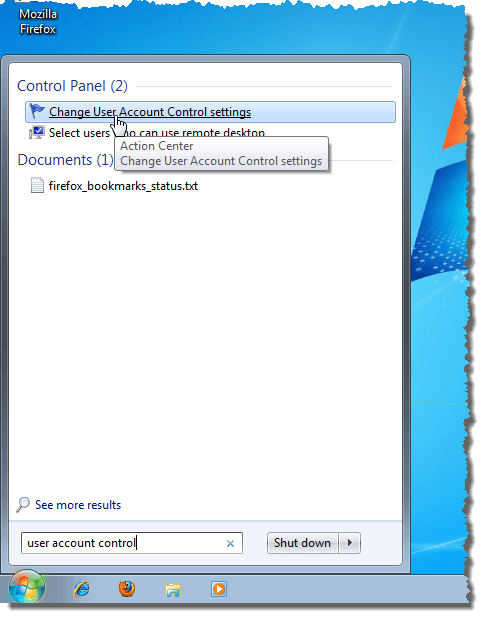
There is an easier method of opening the User Account Control Settings dialog box. Open the Start menu and enter “user account control” (without the quotes) in the Search programs and files box. Then, click the Change User Account Control settings link that displays in the search results.
However, we found a free utility, called UAC Controller Tool, that provides an even easier method of changing the User Account Control settings.
Download UAC Controller Tool from
http://www.itknowledge24.com/.
The UAC Controller Tool does not need to be installed. Simply unzip the downloaded file and double-click on the .exe file to run the program.
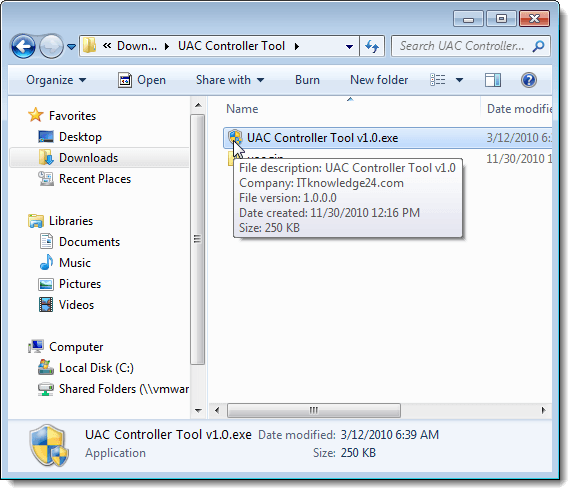
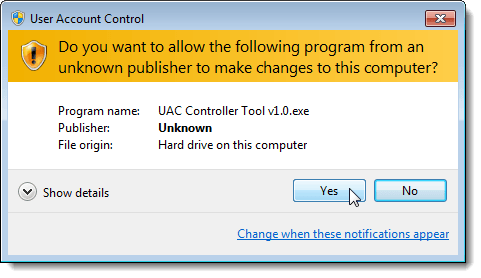
Depending on your current User Account Control settings, the User Account Control dialog box may display. If so, click Yes.
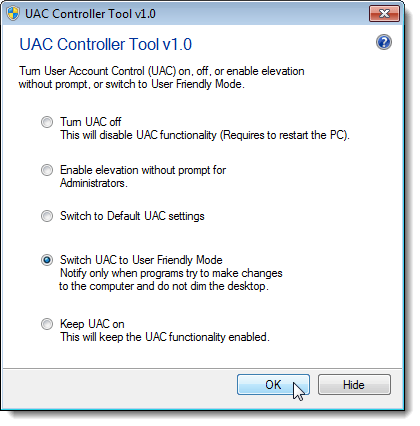
The UAC Controller Tool main window displays. There are five options. The order of the options is opposite to the order of the options on the standard Windows User Account Control Settings dialog box. In the UAC Controller Tool, the lowest level of security is the first option at the top of the dialog box. In the standard Windows User Account Control Settings dialog box, the lowest level of security is the last option at the bottom of the slider control.
Notice that there are five options on the UAC Controller Tool dialog box. the middle option, Switch to Default UAC settings changes the level to the default Windows setting.
To change the setting, select a radio button for the desired setting and click OK.
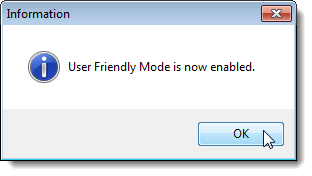
A dialog box displays telling you which mode has been enabled. Click OK.
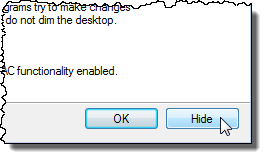
Even when using the UAC Controller Tool, there is a quicker method for changing the User Account Control settings. You can minimize the UAC Controller Tool to the system tray, and easily access a menu to change the settings. To do this, click Hide on the UAC Controller Tool main window.
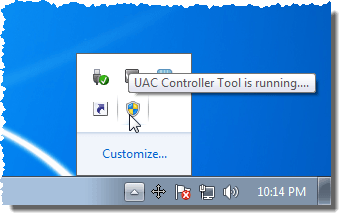
The icon for the UAC Controller Tool displays in the system tray.
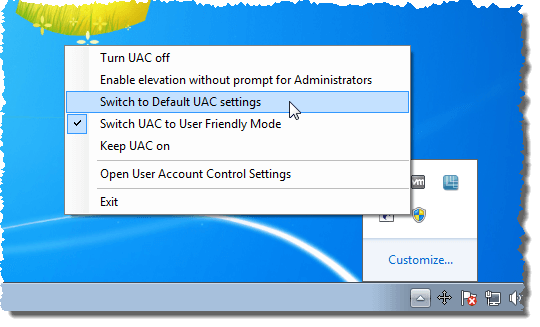
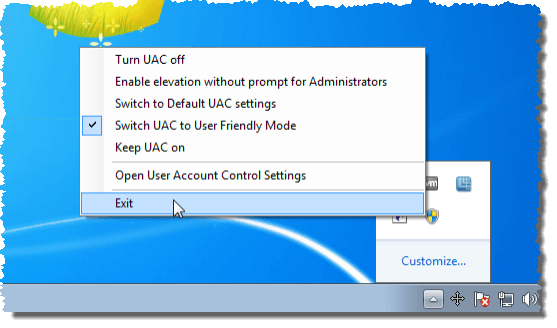
To change the User Account Control settings, simply right-click on the UAC Controller Tool icon in the system tray to access a menu. You can select an option to change the setting, or you can select the Open User Account Control Settings to access the standard Windows dialog box for changing the User Account Control settings, discussed at the beginning of this post.
NOTE: You cannot access the UAC Controller Tool main window from the system tray icon. If you want to access the UAC Controller Tool main window again, you must exit the UAC Controller Tool first and then reopen the tool. The UAC Controller Tool main window opens again. You can send it to the system tray again by clicking the Hide button.
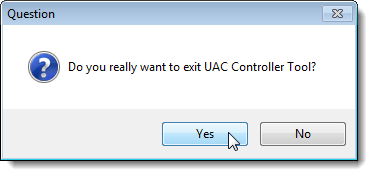
A dialog box displays to make sure you want to exit the UAC Controller Tool. Click Yes.
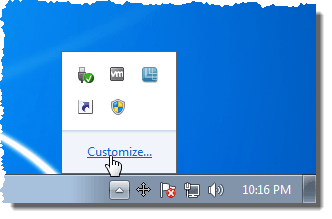
If you don’t want to have to open the system tray every time you want to change the User Account Control settings, you can take the UAC Controller Tool icon out of the popup system tray and place it in the system tray on the Taskbar. To do this, open the system tray and click the Customize link.
The Notification Area Icons screen on the Control Panel displays. Scroll down in the list of system tray icons until you find the UAC Controller Tool icon. Select Show icon and notifications from the drop-down list. You may see the UAC Controller Tool icon listed twice. It does not seem to matter which one you change.
NOTE: You can change this option even if the UAC Controller Tool is not currently open. The change will take effect the next time you run the UAC Controller Tool.
![]()
To close the Control Panel window, click OK.
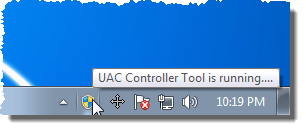
You can now access the UAC Controller Tool menu directly on the system tray without having to open the system tray first.
You may need to change the User Account Control settings for various reasons. However, it is not advisable that you leave the User Account Control settings at a lower security level for long. The UAC Controller Tool allows you to easily change the User Account Control settings to a more secure level when you have finished with your need for a less secure level.

No comments:
Post a Comment