When you perform a task that requires administrative privileges in Windows Vista, Windows 7, or Windows Server 2008, the User Account Control (UAC) dialog box displays. User Account Control limits applications to standard user privileges, even in a user account with administrator privileges assigned to it. When you run applications, they are run as a standard user, unless they are specifically approved to have administrator privileges.
User Account Control approval happens on a per-application basis. If you have an application that you know and trust and use often, and it requires administrator privileges, you may want to download a free tool we found, called UAC Trust Shortcut, that allows you to turn off User Account Control for a specific application.
Download UAC Trust Shortcut from
http://www.itknowledge24.com/.
NOTE: There are two files in the UAC Trust Shortcut .zip file download. UAC Trust Shortcut requires Microsoft .NET Framework 4 to be installed. If you have Microsoft .NET Framework 4, you can install UAC Trust Shortcut using the included .msi file.
If you need Microsoft .NET Framework 4, use the included .exe to install UAC Trust Shortcut. It automatically downloads Microsoft .NET Framework 4 and installs it for you. Then, it runs the .msi file to install UAC Trust Shortcut.
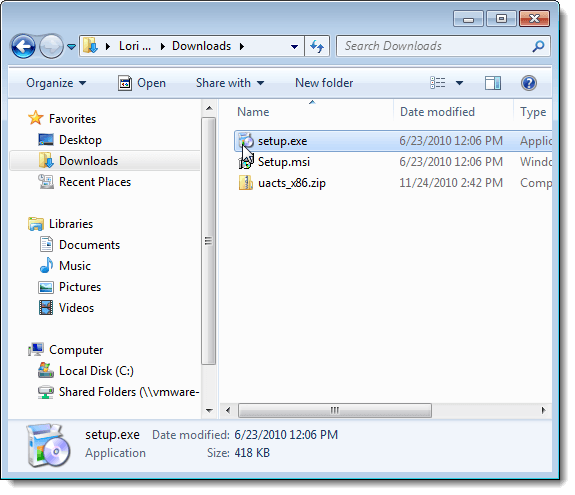
We used the .exe file to install UAC Trust Shortcut because we did not have Microsoft .NET Framework 4 installed yet. This post shows how to install UAC Trust Shortcut using the .exe file. Double-click the setup.exe file.
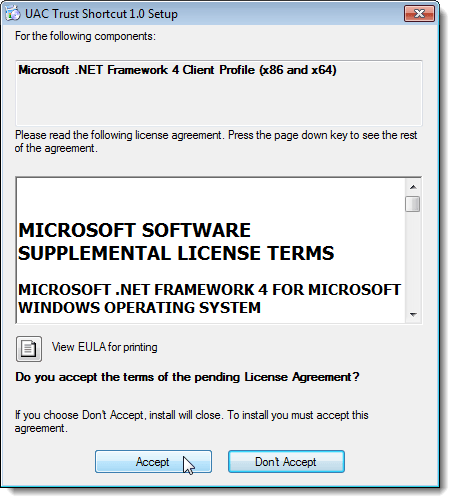
The license for Microsoft .NET Framework 4 displays. Click Accept.
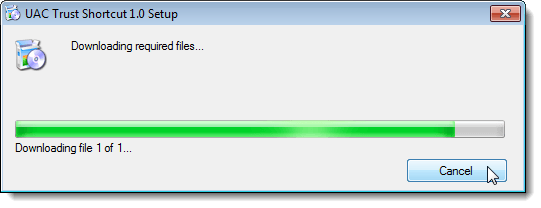
The executable file for Microsoft .NET Framework 4 is downloaded.
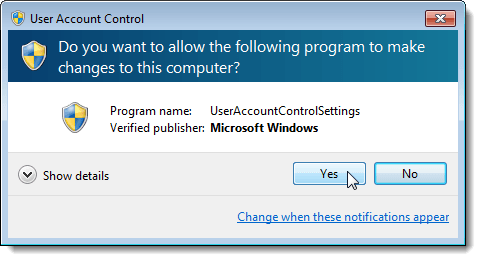
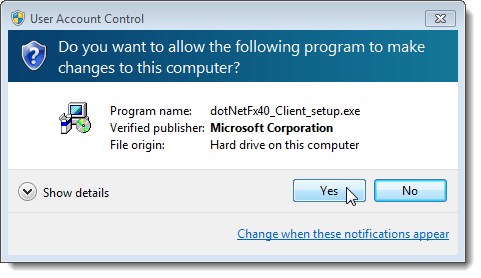
Once the download is finished, the User Account Control dialog box displays asking for permission to install Microsoft .NET Framework 4. Click Yes.
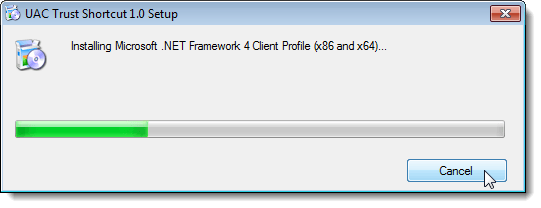
The progress of the installation of Microsoft .NET Framework 4 displays.
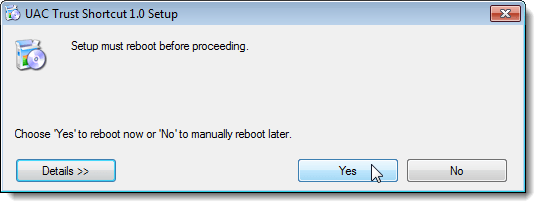
Once the installation of Microsoft .NET Framework 4 is finished, a dialog box displays prompting you to reboot your computer. Click Yes.
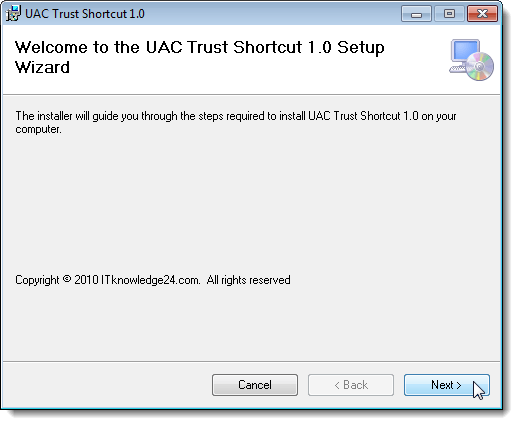
Once your computer has rebooted and you have logged in, the installation of UAC Trust Shortcut begins (the .msi file automatically runs). Click Next on the Welcome screen of the Setup Wizard.
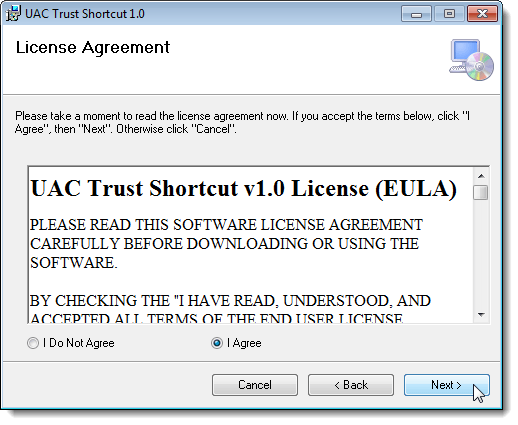
On the License Agreement screen, select the I Agree radio button. Click Next.
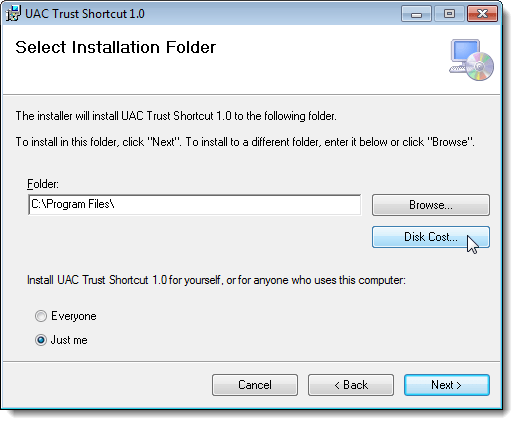
If you want to change the location where UAC Trust Shortcut is installed, use the Browse button on the Select Installation Folder screen. We accepted the default location.
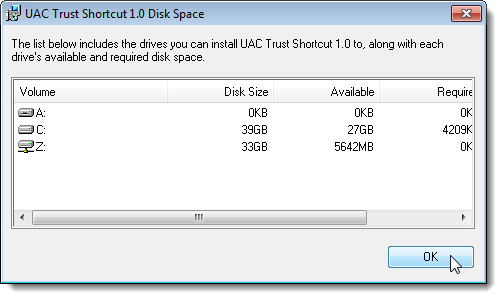
If you want to see how much space UAC Trust Shortcut is going to take up on your hard drive, click the Disk Cost button.
The Disk Space dialog box displays information about all the drives available on which you can install UAC Trust Shortcut. Click OK to close the dialog box.
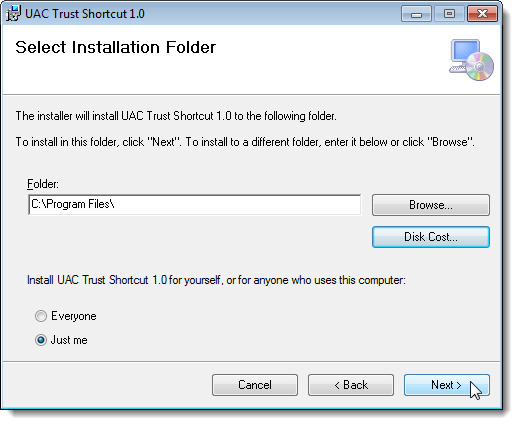
If you want to install UAC Trust Shortcut for all users on your computer, select the Everyone radio button on the Select Installation Folder screen. Otherwise, select the Just me radio button.
Click Next to continue.
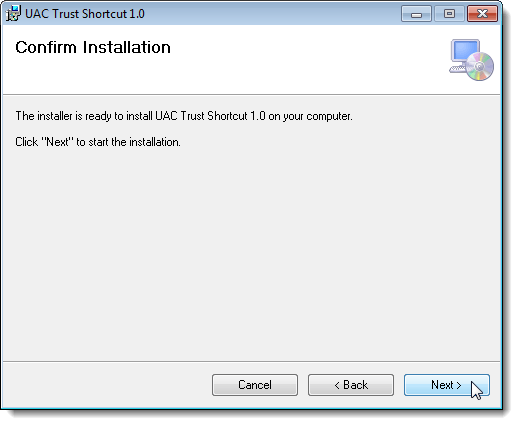
To start installing UAC Trust Shortcut with the selected settings, click Next on the Confirm Installation screen. To change any settings, click Back to go to the previous screens.
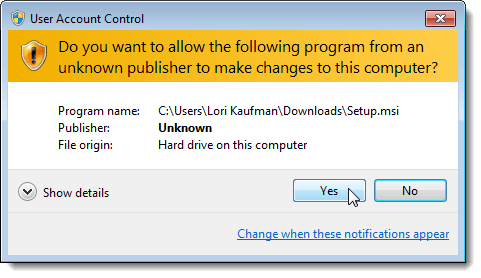
The User Account Control dialog box displays asking for permission to run the Setup.msi file. Click Yes.
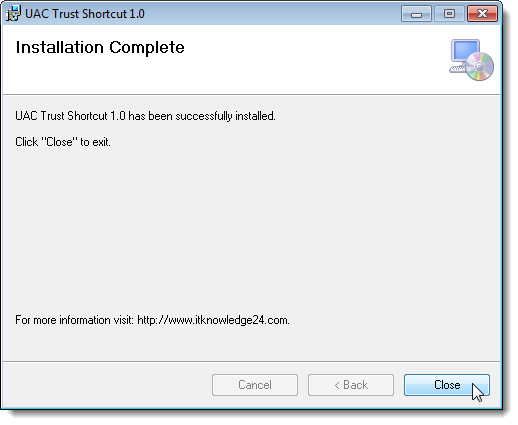
On the Installation Complete screen, click Close to exit the Setup Wizard.
For the example in this post, we will create a shortcut for CCleaner, which is a useful program for cleaning your Windows computer. It protects your privacy online and makes your computer faster and more secure. If you want to install CCleaner to use and so you can use it as an example when following the steps in this post, you can download CCleaner from
http://www.piriform.com/ccleaner.
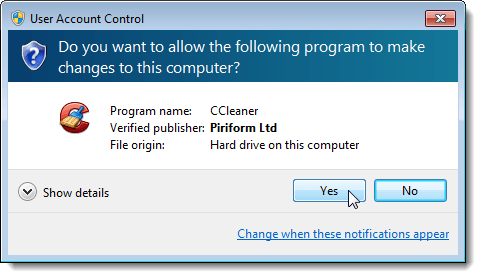
Every time CCleaner is run, the User Account Control dialog box displays. The new shortcut will allow us to run CCleaner without the User Account Control dialog box displaying.
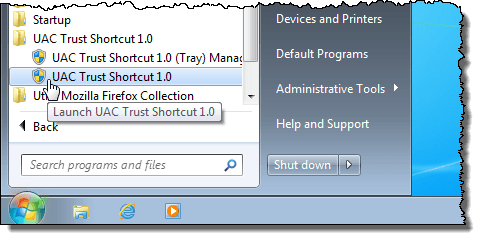
To run UAC Trust Shortcut, click All Programs on the Start menu and click UAC Trust Shortcut.
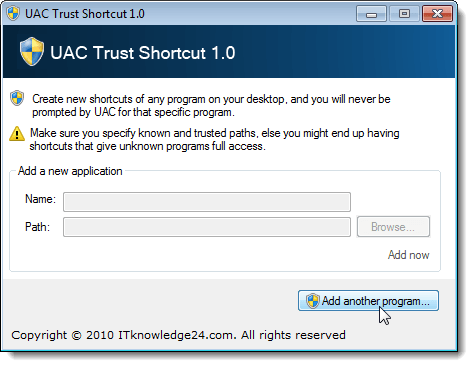
On the UAC Trust Shortcut dialog box, click the Add another program button to activate the fields on the dialog box.
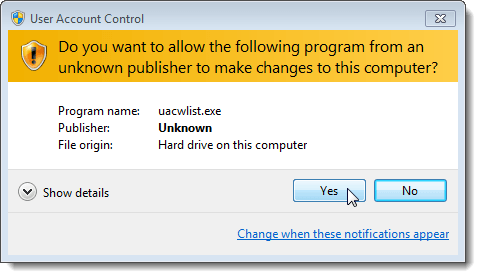
The User Account Control dialog box displays. Click Yes.
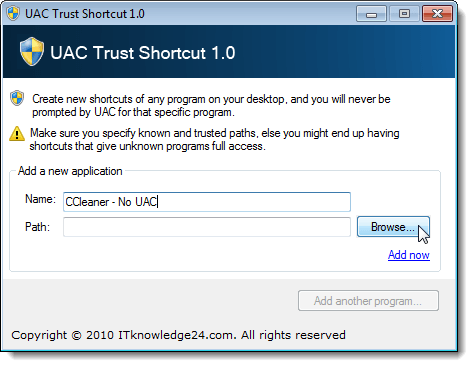
Enter a name for your shortcut in the Name edit box. You should select a name that is different than the original program shortcut. Click the Browse button.
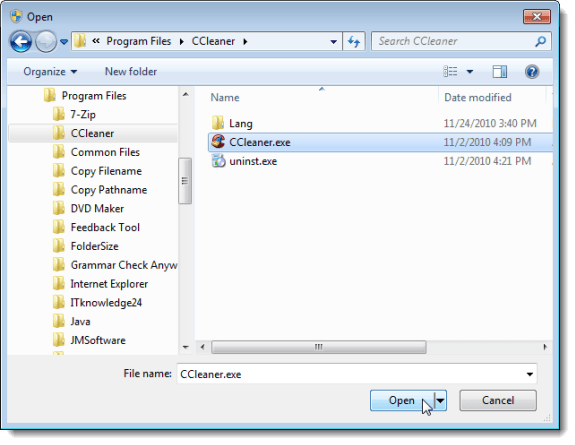
Navigate to the folder in which the program is installed for which you want to create the shortcut and select the .exe file for the program. In our case, we selected the CCleaner.exe file. Click Open.
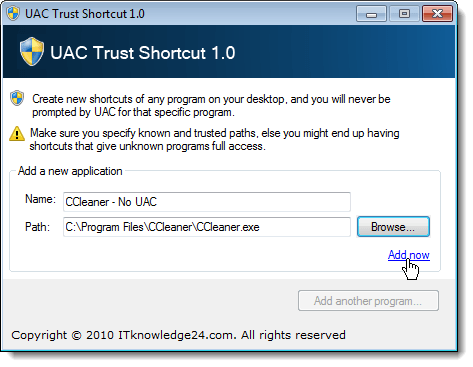
The full path to the executable file is inserted into the Path edit box. Click the Add now link below the Browse button to create the shortcut.
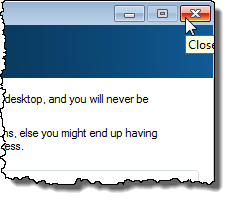
You can continue to add shortcuts for other programs that require permission using the User Account Control dialog box by repeating the steps above. When you are finished creating shortcuts, click the X button in the upper, right corner of the dialog box to close UAC Trust Shortcut.
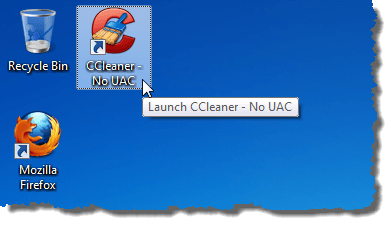
The new shortcut is added to the desktop. Double-click the new shortcut to open the program, bypassing the User Account Control dialog box.
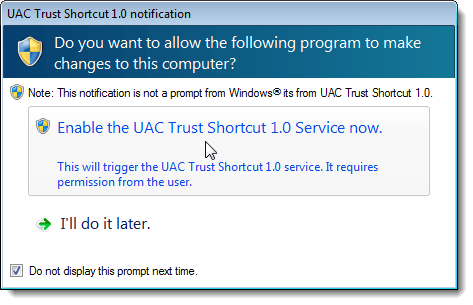
UAC Trust Shortcut installs a service that runs in the background to enable the shortcuts you create. When you start your computer the next time, a dialog box displays asking you for permission to start the service. If you don’t want this dialog box to display every time you start Windows, select the Do not display this prompt next time check box. Click the Enable the UAC Trust Shortcut Service now option to start the service.
NOTE: If you select the Do not display this prompt next time check box, we recommend that you select the Enable the UAC Trust Shortcut Service now option. Otherwise, you will need to start the service manually.
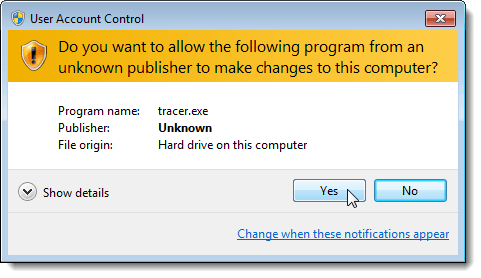
The User Account Control dialog box displays asking for permission to run the program that starts the service. Click Yes.
Be sure you know and trust the programs for which you turn off User Account Control using UAC Trust Shortcut, and that you select the correct program executable files.

No comments:
Post a Comment