We have previously written about a free tool, called Sizer, for Windows users that allows you to resize windows to specific sizes (see our post, Easily Resize Windows to Specific Sizes).
We use Sizer to make it easier to take screenshots of a certain size. We wanted to do the same thing in Ubuntu, so we searched for a tool. We found a command line tool, called wmctrl, that allows you to interact with an EWMH/NetWM compatible X Window Manager, and provides command line access to almost all the features defined in the EWMH (Extended Window Manager Hints) specification.
It allows you to manipulate or control aspects of application windows and the desktop environment. For example, wmctrl can be used to get information about the window manager, to get a detailed list of desktops and managed windows, to switch and resize desktops, to make windows full-screen, always-above or sticky, and to activate, close, move, resize, maximize and minimize them.
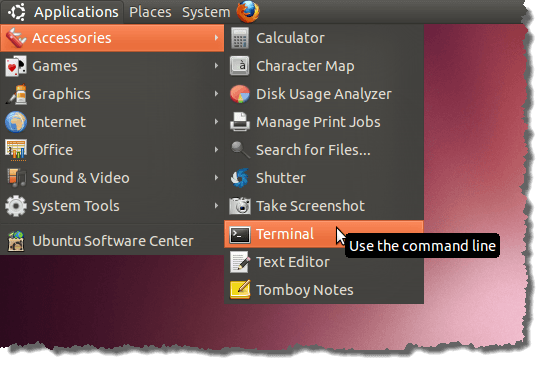
To install wmctrl, open a Terminal window by selecting Accessories | Terminal from the Applications menu.
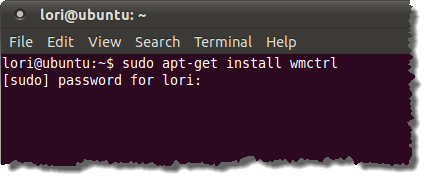
Enter the following line at the prompt and press Enter.
sudo apt-get install wmctrl
Enter your password when prompted.
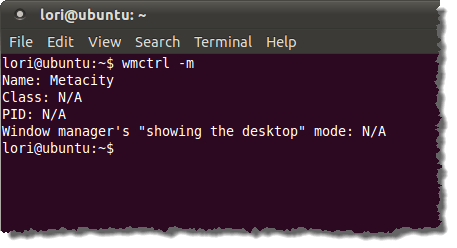
Once the installation is finished, use the command line in the Terminal window to run wmctrl, entering a single dash followed by a letter specifying a switch for wmctrl. For example, entering –m after wmctrl displays information about the window manager currently being used.
wmctrl –m
As shown in the image below, we are using the Metacity window manager.
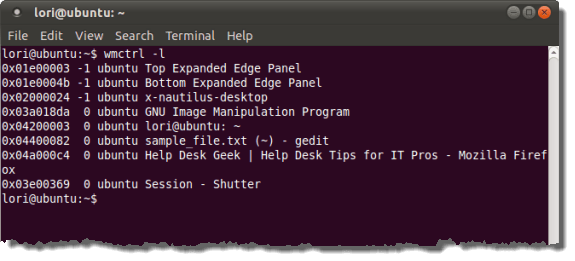
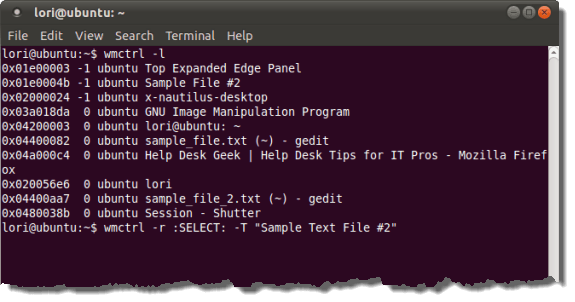
Type the following command at the prompt and press Enter to list all the windows currently open on your desktop, whether they are active, behind other windows, or minimized.
wmctrl –l
NOTE: The switch above, –l, is a lowercase L.
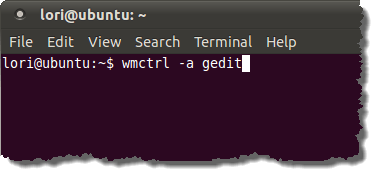
The -a switch followed by a window name for wmctrl allows you to make a specific window active. For example, we enter the following line to make our gedit window active.
wmctrl –a gedit
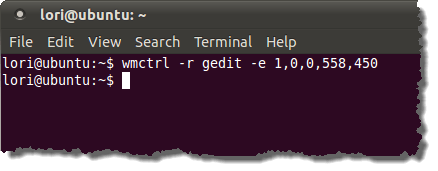
The -r and -e switches allow you to resize a window. First, you specify the window to be resized using the -r switch, and then you use the -e switch to specify the values for resizing the specified window. The value for the -r switch is the name of the window, which can be obtained using the –l (lowercase L) switch discussed above to list the currently open windows.
The -e switch requires five values: gravity, X-position, Y-position, width, and height. The X and Y positions, respectively, describe the position of the window from the top, left corner of the screen. Gravity is used to specify the position of the window’s frame and it can be any value from 1 to 9. Each value maps to a position on the screen:
- northwest (1)
- north (2)
- northeast (4)
- west (4)
- center (5)
- east (6)
- southwest (7)
- south (8)
- southeast (9)
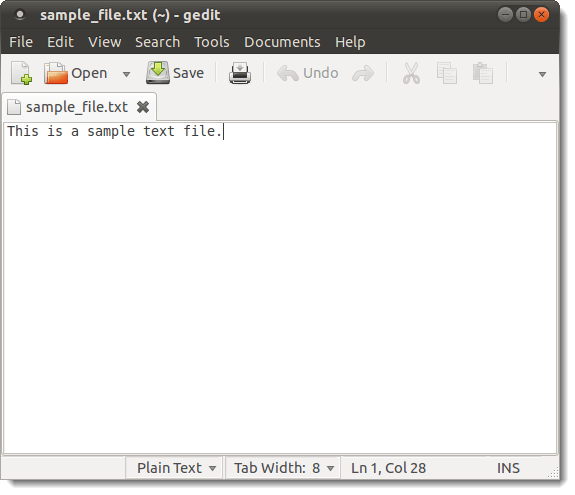
For example, the following command resizes the gedit window and places it in the upper, left corner of the screen. The window is resized to 560 pixels wide by 480 pixels high. See the following note for the reason why these numbers do not match the numbers on the image below.
NOTE: When resizing a window, the window must not be in a maximized state.
wmctrl –r gedit –e 1,0,0,558,450
NOTE: When we tested the resizing feature, the resulting window seemed to be off by 2 pixels in the width and 30 pixels in the height. But, when we subtracted those numbers from the width and height and entered the adjusted numbers, we got the size we wanted.
You may have to adjust your numbers, depending on the results you get. To find out the size, you can take a screenshot of the window and open the file in a graphics editor that shows you the size of the screenshot in pixels.
The gedit window is resized to the desired size and fits nicely in this post.
You can also use wmctrl to rename windows. You can rename a window by selecting a window or by specifying its name. To rename a window by selecting it, enter the following line at the prompt. Change the text in the quotes to the name you want on the title bar.
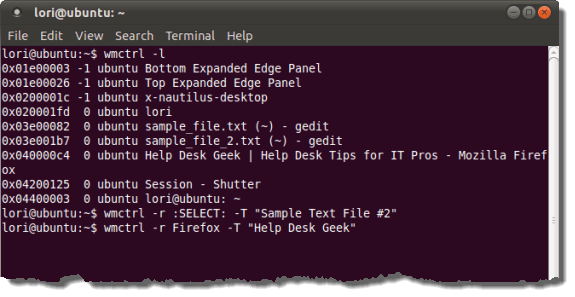
wmctrl -r :SELECT: –T “Sample Text File #2”
The value supplied after the –r switch, indicates that you will select the window to be renamed.
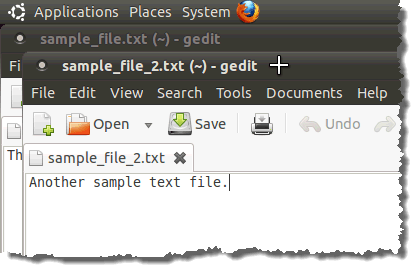
The cursor changes to a crosshair. Click the title bar of the window you want to rename. The window does not have to be active, but you must have access to its title bar on the desktop.
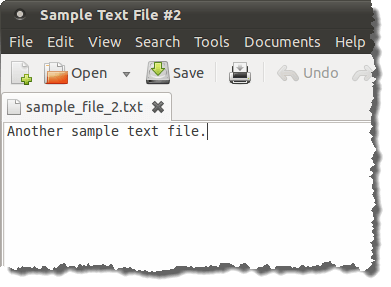
The name on the window’s title bar changes to the text you specified.
To change the name of a window using its name, enter the following command, again changing the text in quotes to the name you want to apply to the window.
wmctrl -r Firefox –T “Help Desk Geek”
We simply changed the value provided for the -r switch to a specific window name.
The Firefox window is renamed to the title we specified.
For more information about using wmctrl, you can view the man page about it by entering “man wmctrl” (without the quotes) at the prompt in a Terminal window or view the help by entering “wmctrl –h” (without the quotes) at the prompt. You can also refer to the following website:


No comments:
Post a Comment