Welcome to the second part of this two-part series about installing and using CustoPack Tools to easily change the look of Windows.
In Part I, we covered installing CustoPack Tools, viewing CustoPacks available on your computer, and downloading CustoPacks.
In this post, we are going to discuss installing a CustoPack, creating your own custom CustoPacks, and changing CustoPack Tools options and configurations.
Make sure you have downloaded and installed CustoPack Tools prior to following the steps in this post. Also, we recommend you go through the steps in Part I before proceeding with the post.
Download CustoPack Tools from
http://www.custopack.com/en/home.
Install a CustoPack
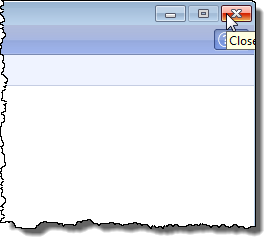
To install a downloaded CustoPack, close CustoPack Tools, if it is still open, by clicking the X button in the upper, right corner of the main CustoPack Tools dialog box.
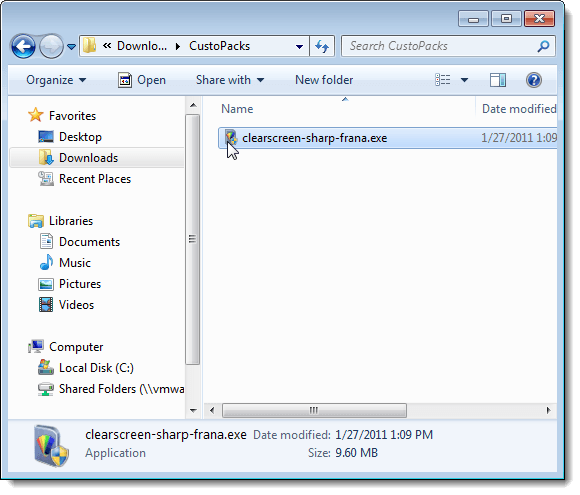
Double-click on the .exe CustoPack file you downloaded.
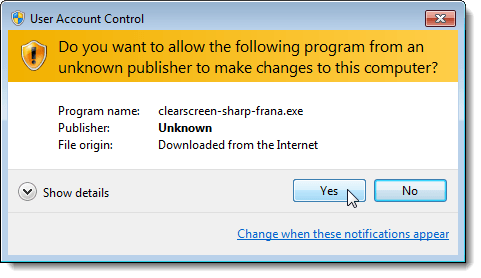
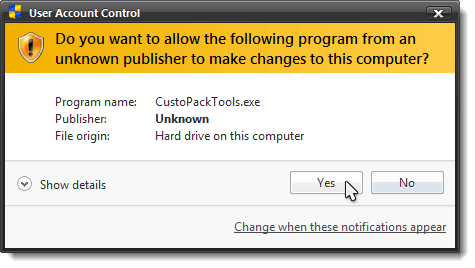
If the User Account Control dialog box displays again, click Yes to continue.
NOTE: See our note earlier in this post about configuring User Account Control.
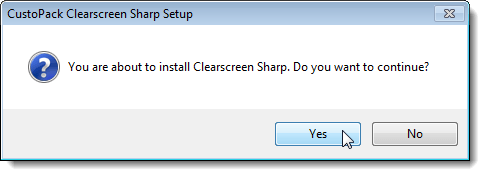
A confirmation dialog box displays telling you which CustoPack you are about to install. To continue with the installation of that CustoPack, click Yes.
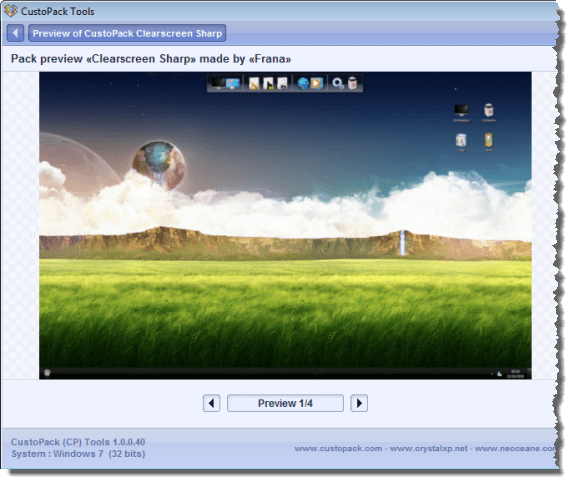
CustoPack Tools opens and displays a preview of the CustoPack being installed.
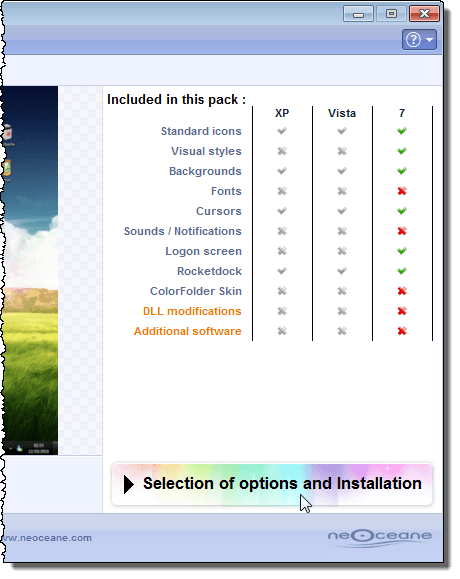
A chart displays on the right side of the Preview screen showing what is included in the selected CustoPack for each of the three Windows versions. Because we downloaded a CustoPack for Windows 7, the 7 column is highlighted and the XP and Vista columns are grayed out.
To continue with the installation, click the Selection of options and Installation button.
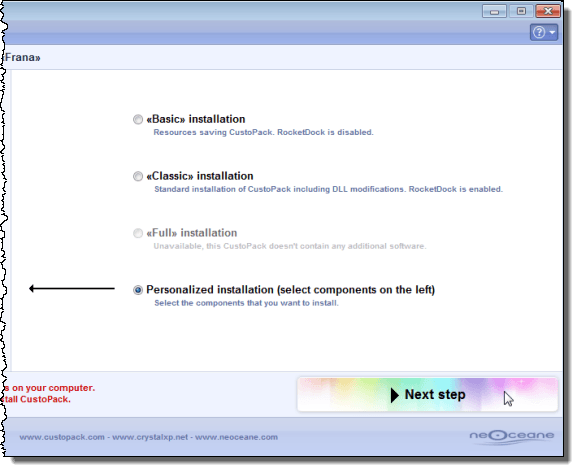
The Options screen displays the available levels of installation. Select the level of installation you want by clicking on the radio button for the desired level. For the CustoPack we chose, not all features are available, therefore, the Full Installation option is not available. We chose Personalized installation.
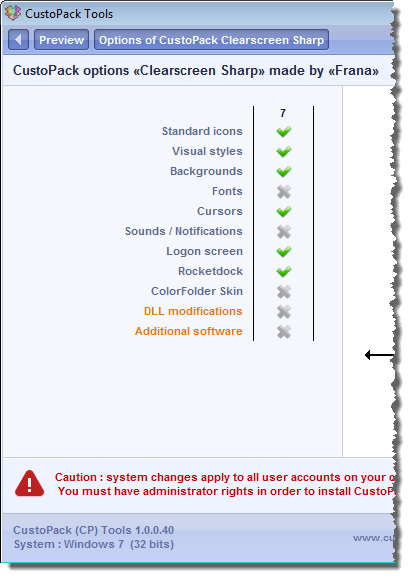
On the left side of the Options screen, is a chart similar to the one listing the available features. By default, all the available features are selected, indicated by green check marks. To turn off a feature, click the green check mark so it turns gray.
To continue with the installation, click the Next step button in the lower, right corner of the screen, as pictured above.
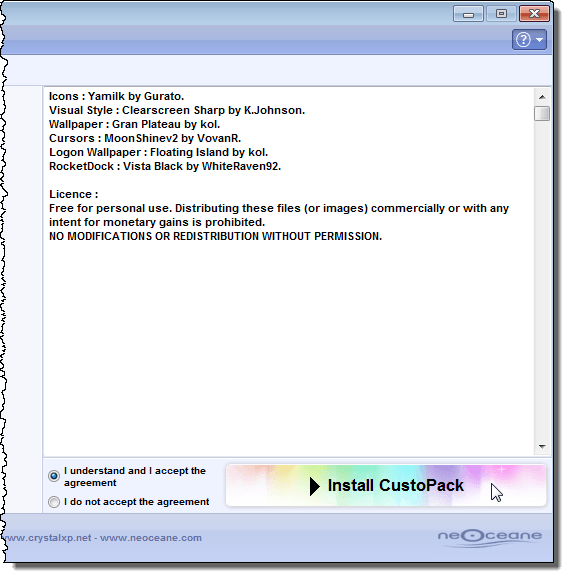
The License screen displays. Select the I understand and I accept the agreement radio button and click Install CustoPack.
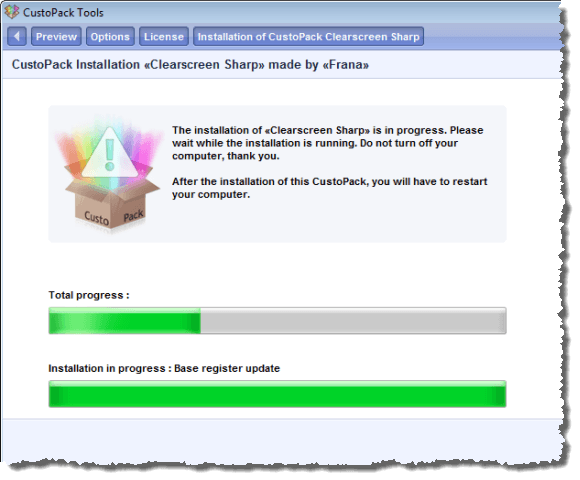
The CustoPack Installation screen displays the progress of the installation.
Reboot Your Computer
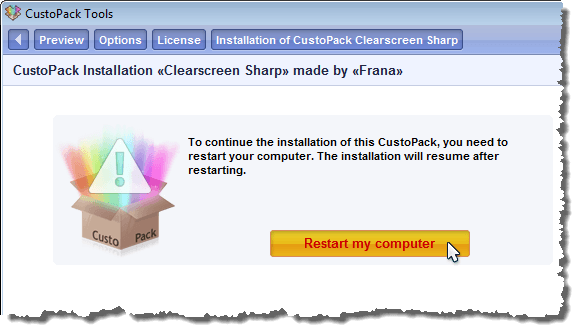
When you install a CustoPack, you must restart your computer to complete the installation. Click the Restart my computer button on the Installation screen.
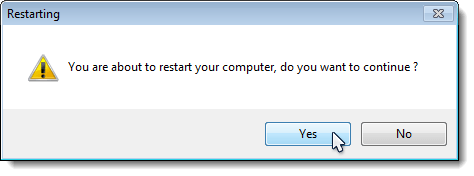
The Restarting confirmation dialog box displays. To restart your computer and finish the installation, click Yes.
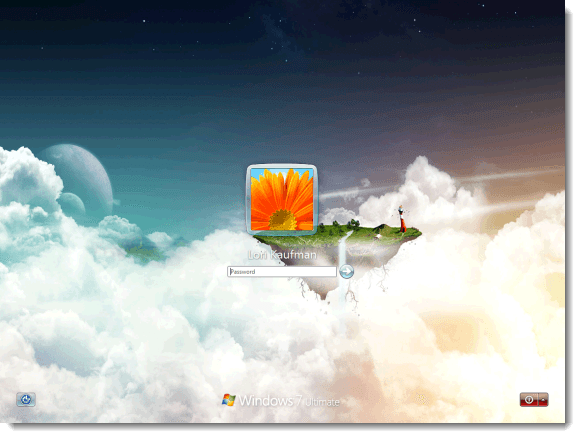
When your computer reboots, you will notice the logon screen has changed to the new design, if the Logon screen feature is available in the CustoPack you chose. Log in to your account.
Complete the Installation of a CustoPack
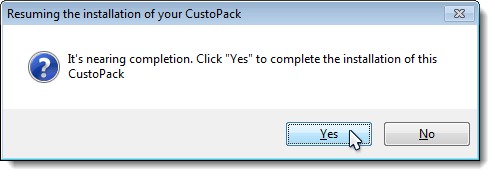
The Resuming the installation of your CustoPack dialog box displays. Click Yes to complete the installation of the CustoPack.
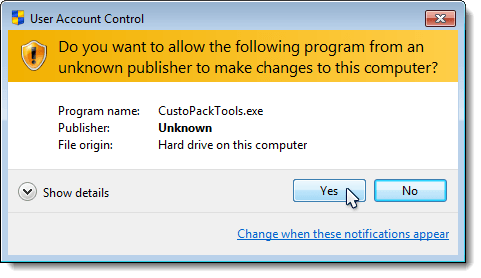
If the User Account Control dialog box displays again, click Yes to continue.
NOTE: See our note earlier in this post about configuring User Account Control.
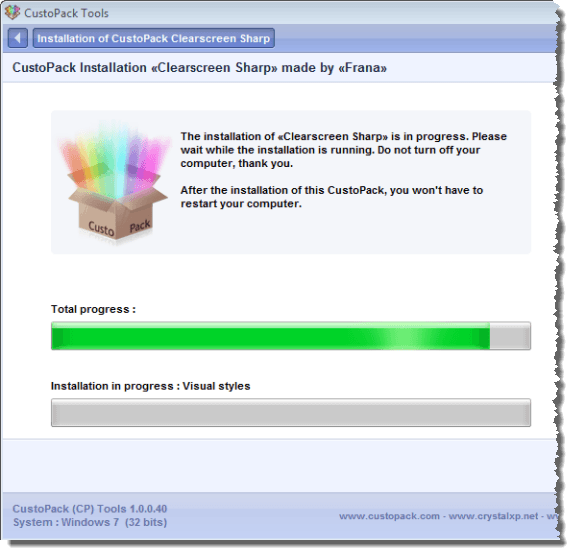
The Installation screen displays again, showing the remaining progress of the installation.
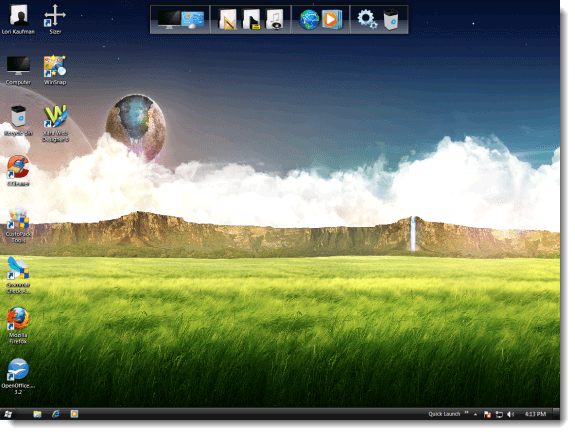
You will see the new background on your desktop, now, and your new CustoPack is almost finished installing.
The User Account Control dialog box may display one last time. If it does, click Yes to continue.
NOTE: See our note earlier in this post about configuring User Account Control.
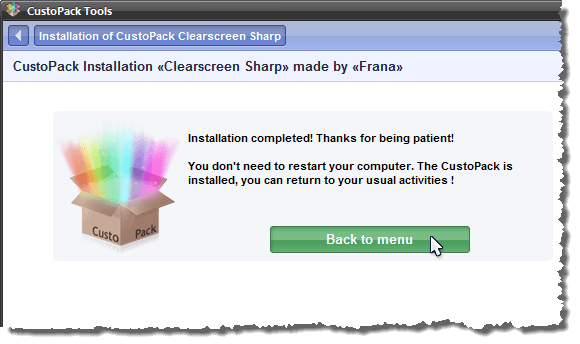
CustoPack Tools automatically opens and displays a screen telling you that the installation has been completed. To return to the main menu, click Back to menu.
Create Your Own Custom CustoPack
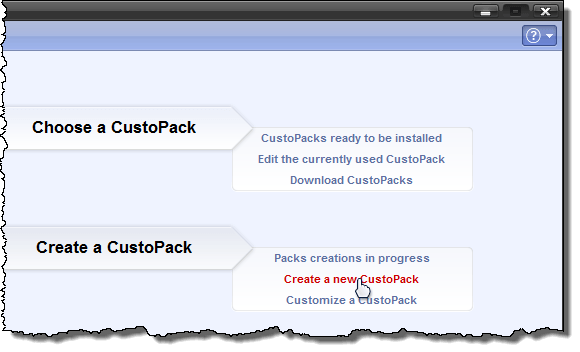
If you are feeling artistic, you can also create your own CustoPacks. To do so, click the Create a new CustoPack under Create a CustoPack on the main CustoPack Tools screen.
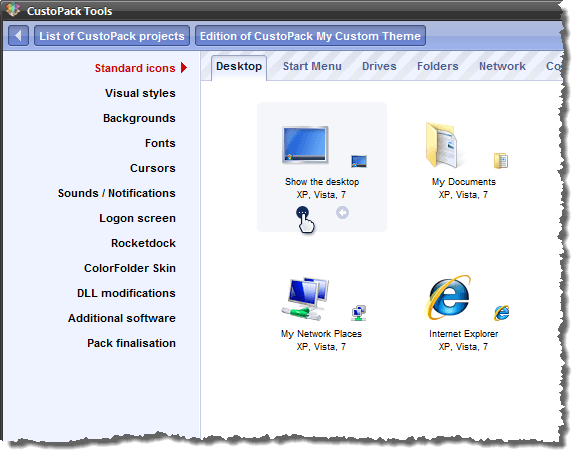
A screen with features listed on the left and tabs on the top displays, allowing you to specify the different components of your custom CustoPack.
Change CustoPack Tools Options and Configurations
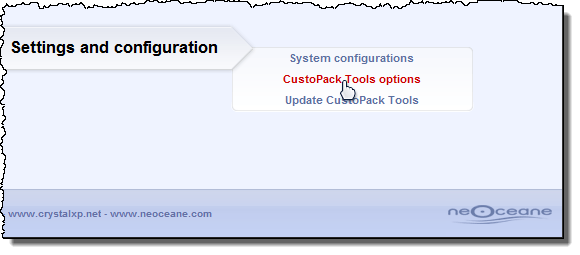
There are few options you can change in CustoPack Tools. To change options, click the CustoPack Tools options link under Settings and configuration.
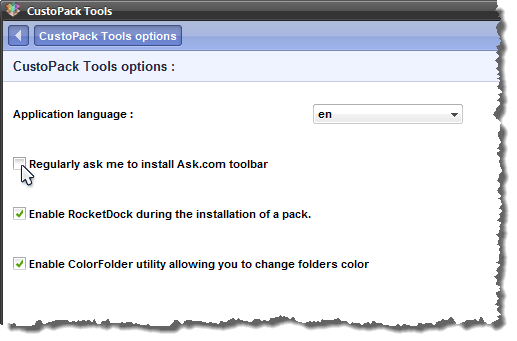
The CustoPack Tools options screen displays. Select the check boxes to turn off (no check mark) and on (check mark) the different options. Click OK in the lower, right corner of the screen to accept your changes, or click Cancel if you don’t want to save your changes.
You can also select the System configurations link to choose whether you want to display the arrow on the desktop icons. For this change to take effect, you need to log out and back in. A dialog box displays allowing you to easily do this.
Wrap Up
In this post, we covered installing a CustoPack, creating your own custom CustoPacks, and changing CustoPack Tools options and configurations.
In Part I of this series, we covered installing CustoPack Tools, viewing CustoPacks available on your computer, and downloading CustoPacks.
This series was meant to help provide an easy way of customizing the look of Windows. You can also submit your own custom CustoPacks using the Submit a CustoPack link on the CustoPack Gallery web page.

No comments:
Post a Comment