Windows 7 allows you to add a message that is displayed on the logon screen when users log in. To setup a message for users logging in on your computer, use the Local Security Policy editor.
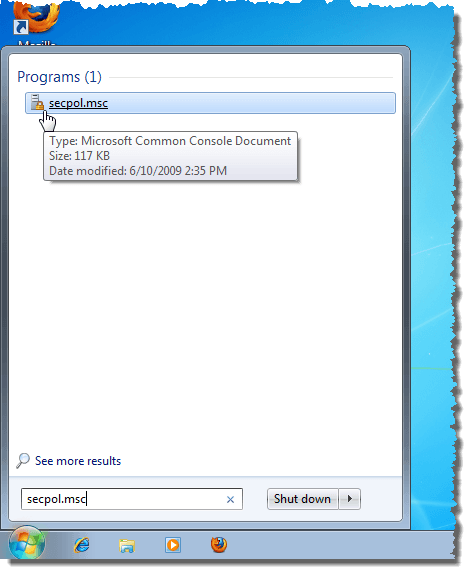
Enter the following into the Search programs and files box on the Start menu and press Enter or click the link.
secpol.msc
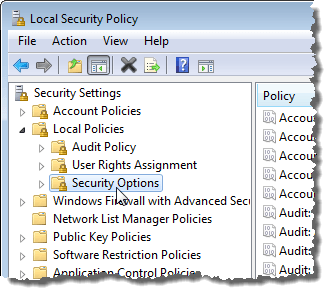
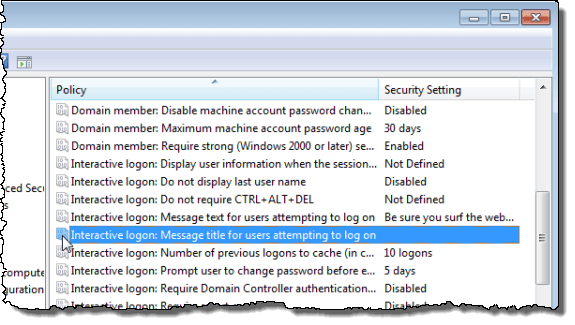
Expand the Local Policies node in the tree in the left pane and select the Security Options node.
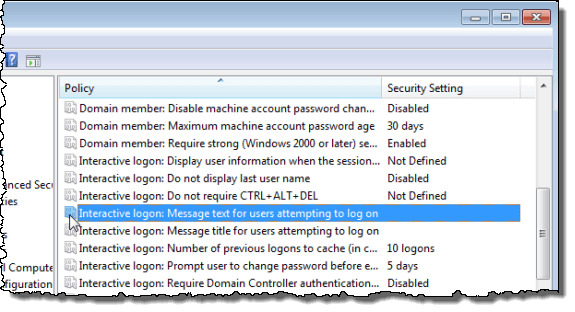
Double-click the Interactive logon: Message text for users attempting to log on setting in the right pane.
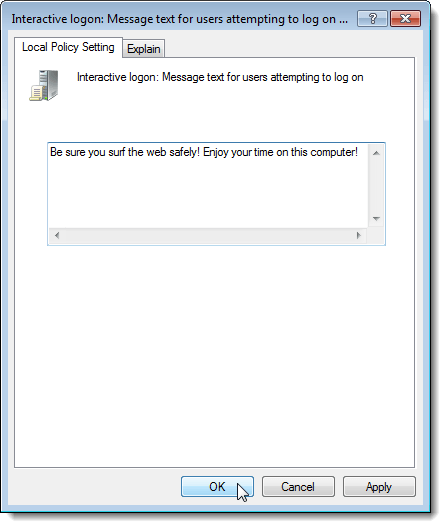
On the Local Policy Setting tab, enter your message in the text box and click OK.
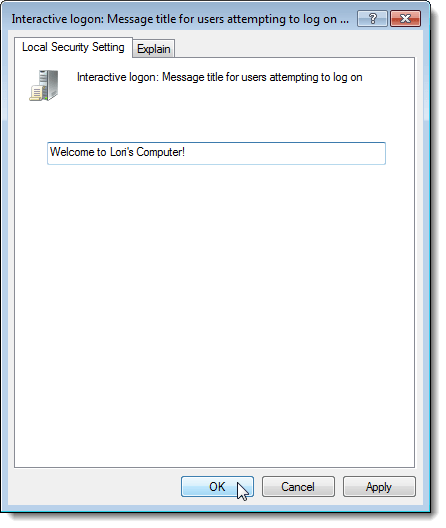
We have seen instructions online that say all you need to display a message on the logon screen is to enter text for the setting mentioned above. However, we found that the message only displays when we applied a title to the message. To do this, double-click on the Interactive logon: Message title for users attempting to log on setting.
On the Local Policy Setting tab, enter a title for your message in the text box and click OK.
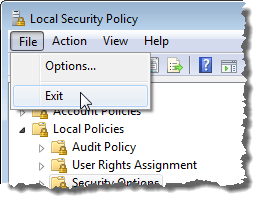
To close the Local Security Policy editor, select Exit from the File menu.
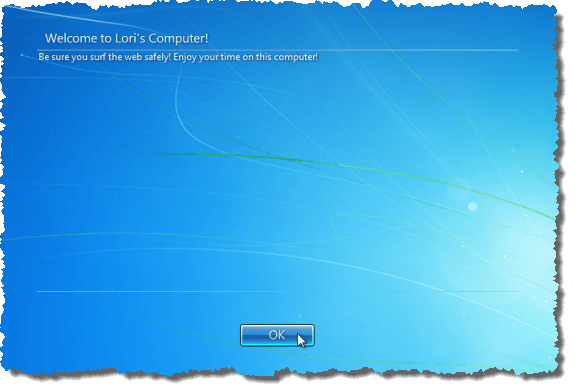
Your title and message now displays on the screen before the available users are displayed. Click OK to select the user and log on.
To disable the message, simply go back into the Local Security Policy editor and delete the message and the title.
There is also a free tool, called Windows Logon Notifier, available on The Windows Club website that makes displaying a logon message easier.
Download Windows Logon Notifier from
http://www.thewindowsclub.com/windows-logon-notifier-lets-you-create-user-logon-messages-easily
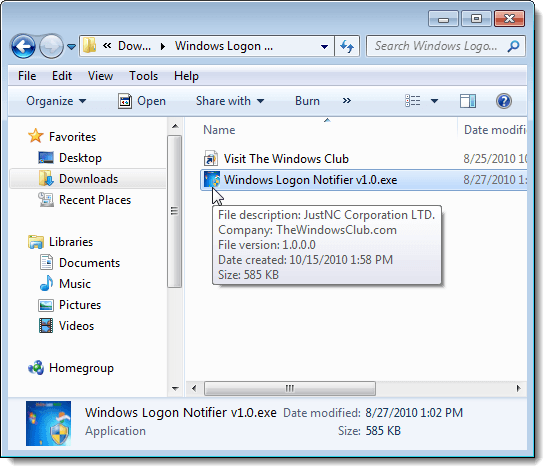
Windows Logon Notifier does not require installation. Simply unzip the file you downloaded and double-click the .exe file to run it.
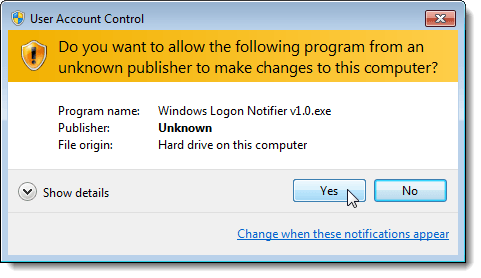
Click Yes on the User Account Control dialog box, if it displays.
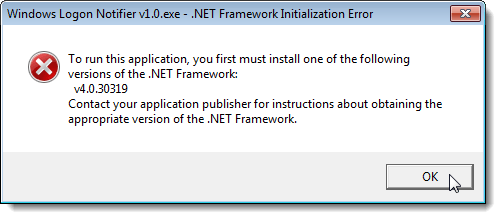
NOTE: You must have Microsoft .NET Framework 4 installed to run Windows Logon Notifier. If you don’t, the following dialog box displays. Click one of the links below to download the desired version. Follow the instructions in the setup to install it. The web installer requires you to remain connected to the internet to install the .NET Framework.
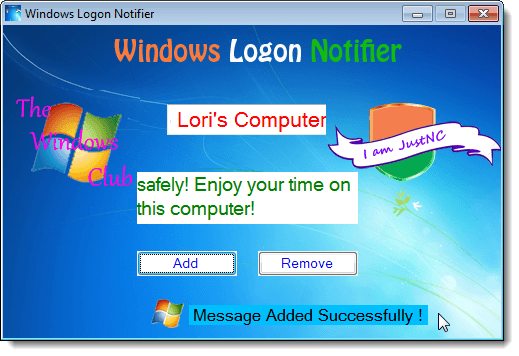
Once you open the Windows Logon Notifier, enter the title for your message in the first edit box and the message in the second edit box. Click Add to enable your message.
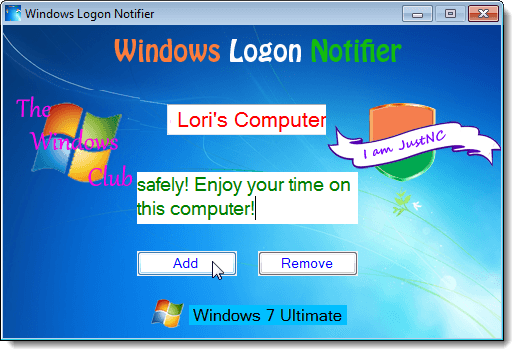
A message displays at the bottom of the Windows Logon Notifier dialog box that your message was added successfully.
NOTE: Windows Logon Notifier actually enters the title and the message for you in the Local Security Policy settings discussed earlier in this post
To disable the message on the logon screen using Windows Logon Notifier, open the program again and click the Remove button.
NOTE: Your message is not displayed in the edit boxes in Windows Logon Notifier if you have close the program and reopened it. You can still click the Remove button to remove the message.
A message displays telling you that the message has been removed successfully.

No comments:
Post a Comment