Firefox automatically creates backups of your bookmarks and saves the last five backups for safekeeping. This post shows you how to manually create your own backup of your bookmarks and how to restore bookmarks from the automatic backups that Firefox creates and from your own manual backup.
Manually Backup Your Bookmarks
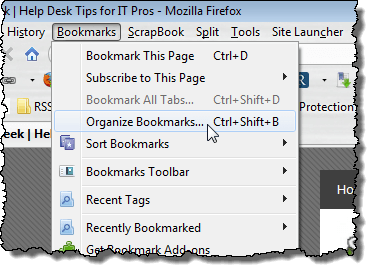
To manually backup your bookmarks, select Organize Bookmarks from the Bookmarks menu.
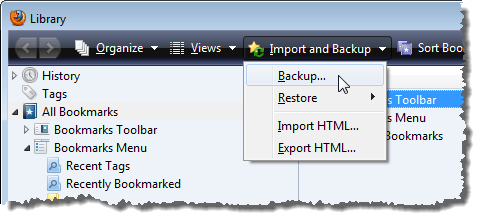
On the Library dialog box, click the Import and Backup button and select Backup from the drop-down menu.
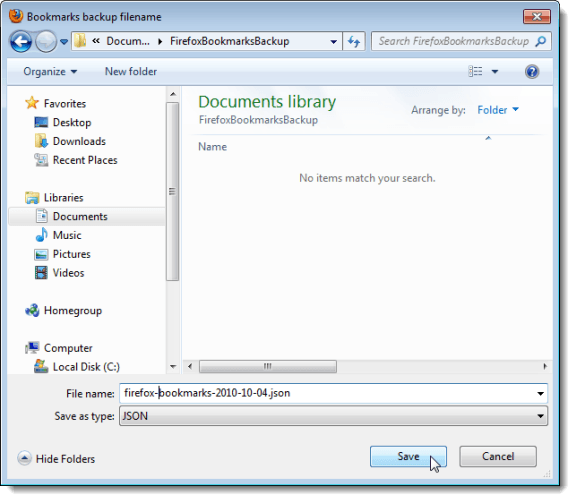
On the Bookmarks backup filename dialog box, navigate to where you want to save the bookmarks backup file. A default name for this file is entered in the File name edit box for you. Change the name, if desired, and click Save.
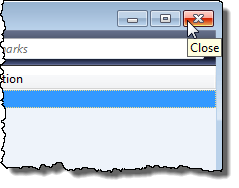
To close the Library dialog box, click the X button in the upper, right corner of the dialog box.
Restore Bookmarks from an Automatic Backup
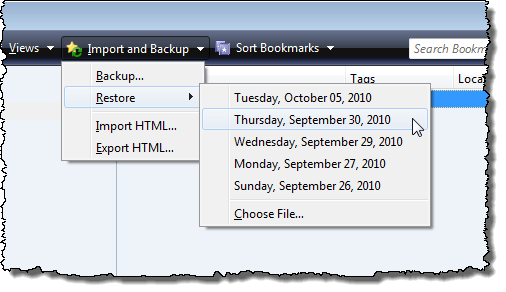
To restore bookmarks saved in an automatic backup by Firefox, open the Library dialog box as mentioned above. Click the Import and Backup button again and choose Restore from the drop-down menu. A submenu containing dates and a Choose File option displays. To restore bookmarks from one of Firefox’s automatic backups, select a date from the submenu.
A dialog box displays warning you that this action will replace all of your current bookmarks. If that is what you want to do, click OK. Otherwise, click Cancel.

Restore Bookmarks Backed Up Manually
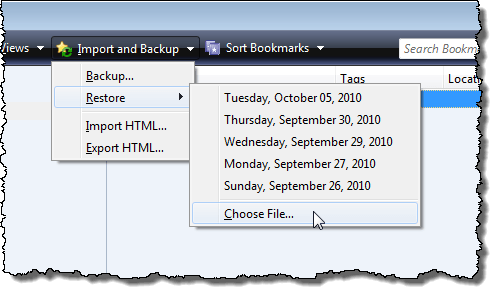
To restore bookmarks from a backup file you created manually, open the Library dialog box as mentioned above, click the Import and Backup button, and select Restore again. This time, however, select the Choose File option.
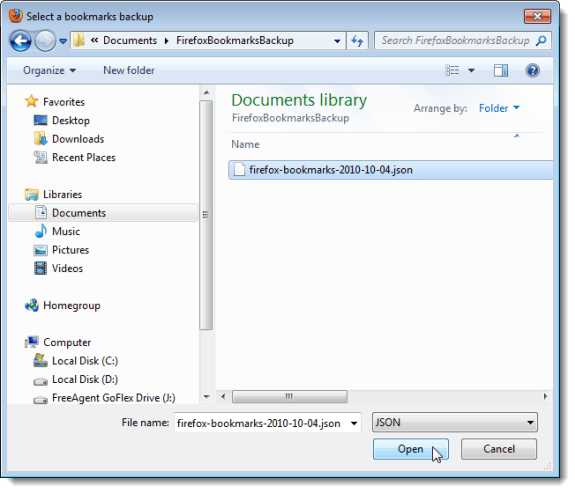
The Select a bookmarks backup dialog box displays. Navigate to where you saved your bookmarks backup file, select it, and click Open.
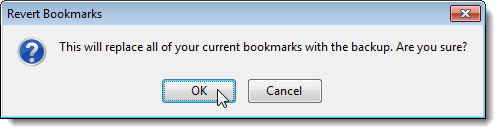
Again, a dialog box displays warning you that this action will replace all of your current bookmarks. If that is what you want to do, click OK. Otherwise, click Cancel.
Backup and Restore Bookmarks Using an HTML File
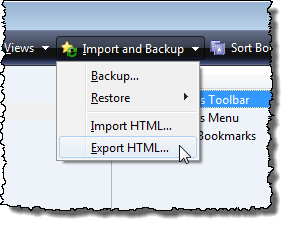
You can also backup your bookmarks into an HTML file, containing links, that you can open in Firefox. To do this, select Organize Bookmarks from the Bookmarks menu as mentioned earlier in this post. On the Library dialog box, click the Import and Backup button and select Export HTML from the drop-down menu.
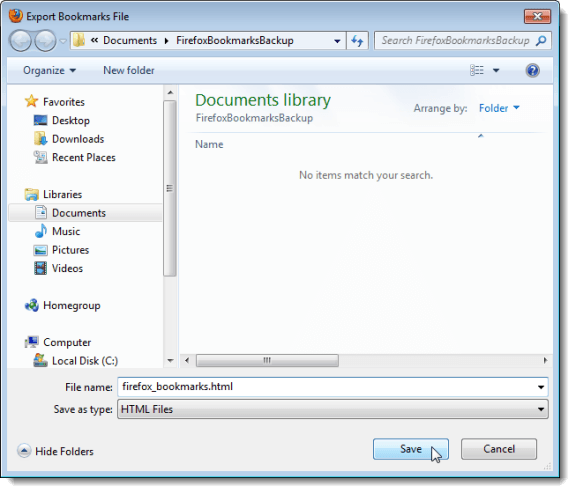
Navigate to where you want to save the HTML file, enter a name for the file in the File name edit box, and click Save.
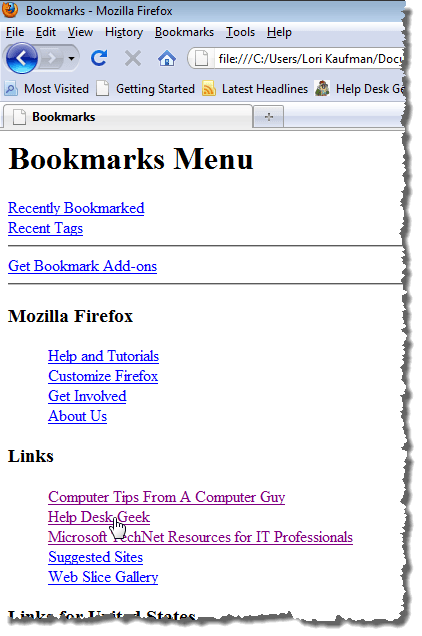
The following image shows you what the HTML bookmarks file looks like when opened in Firefox. It is categorized like your Bookmarks menu, and contains all of your bookmarks converted to active links. You can use this file to access the web pages you bookmarked just as you would your Bookmarks menu (or toolbar).
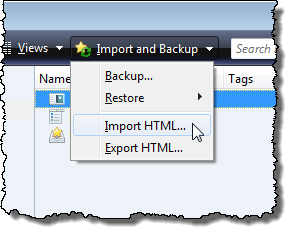
To restore bookmarks from an HTML file you saved, select Organize Bookmarks from the Bookmarks menu as mentioned earlier in this post. On the Library dialog box, click the Import and Backup button and select Import HTML from the drop-down menu.
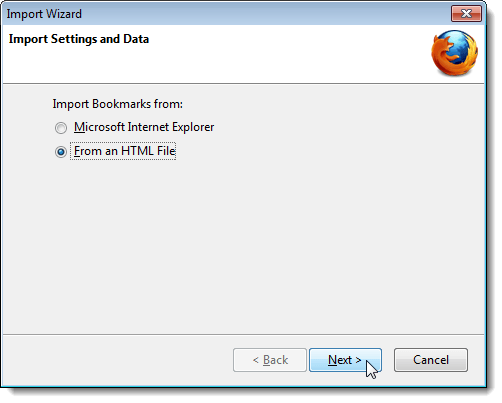
On the Import Settings and Data screen, select From an HTML File and click Next.
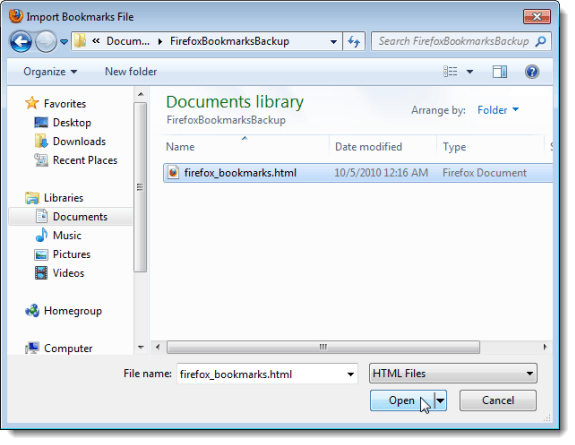
Navigate to the folder in which you previously saved your bookmarks HTML file, select the file, and click Open.
Exporting your bookmarks as an HTML file is a handy way of taking your bookmarks with you. The file is a standard HTML file and can be opened in any web browser, so you can use your bookmarks on any computer with internet access and a browser.

No comments:
Post a Comment