We have previously shown you how to run programs as administrator with full elevated rights in Windows 7 (see our post, Run Programs as Administrator with Full Elevated Rights in Windows 7). This post shows you how to create a shortcut to run a program with elevated rights without having to go through the User Account Control (UAC) dialog box.
WARNING: You can only create this task and shortcut while logged in to an administrator account. It will not work in a standard user account.
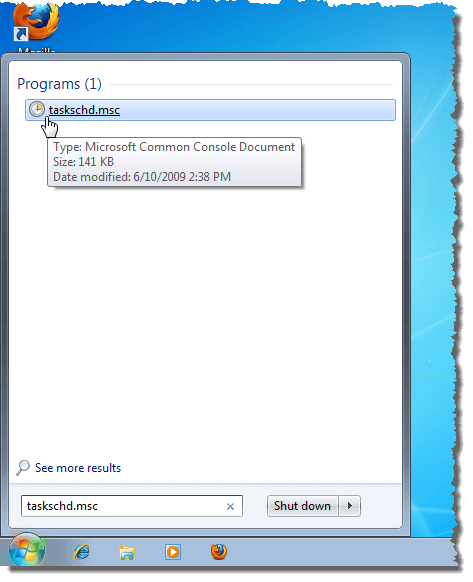
To create this shortcut, you must first create a task that the shortcut will run. To open the Task Scheduler, open the Start menu and type the following into the Search programs and files box. Press Enter or click the resulting link.
taskschd.msc
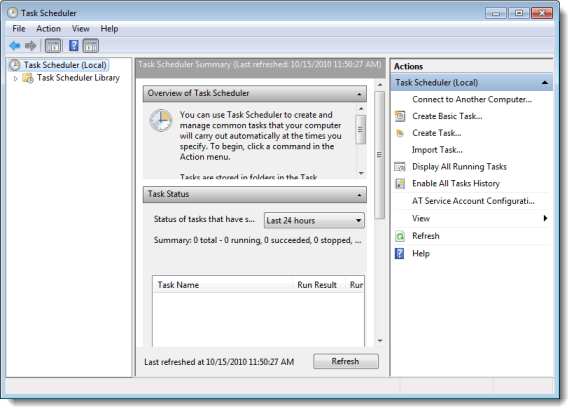
The Task Scheduler main window displays.
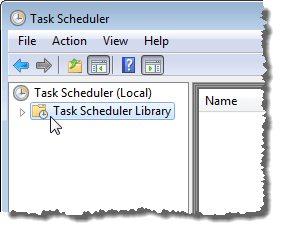
In the tree in the left pane, select Task Scheduler Library.
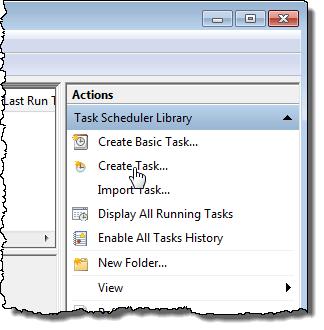
In the list of Actions in the right pane, click on Create Task.
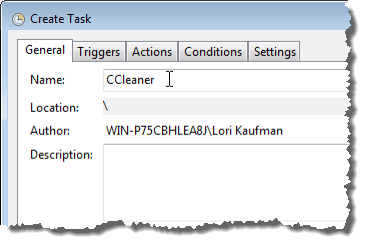
The Create Task dialog box displays. On the General tab, enter a name for your task in the Name edit box. We are creating a task to run CCleaner for this example.
NOTE: Make note of the name you assigned to the task. You will need it again later in this post.
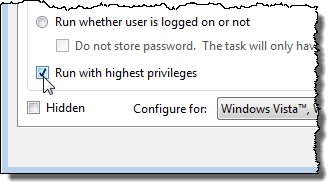
To prevent the UAC dialog box from displaying when you run this task, select the Run with highest privileges check box do there is a check mark in the box.
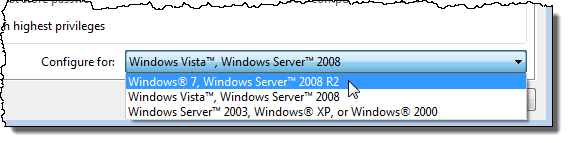
Select the version of Windows for which you want to configure this task from the Configure for drop-down list.
NOTE: This is similar to compatibility mode in Windows. If the program for which you are creating this task does not support running in Windows 7 normally, you can select the version of Windows that it does support instead.
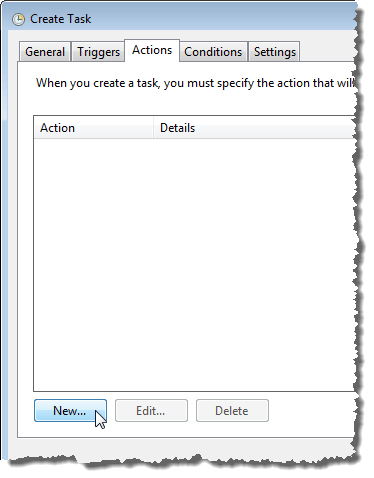
Click the Actions tab and click the New button to create a new action.
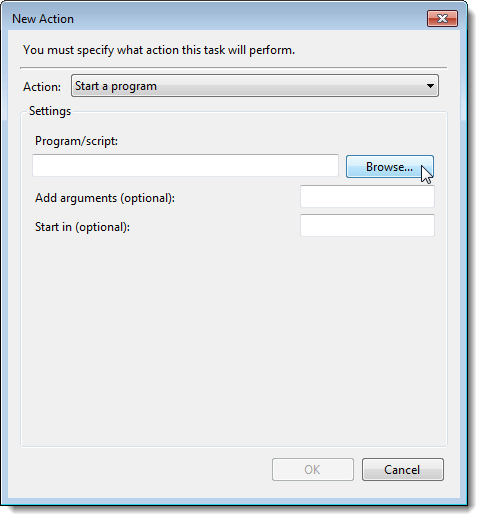
The New Action dialog box displays. Make sure Start a program is selected from the Action drop-down list. Click the Browse button to the right of the Program/script edit box to select the program to start.
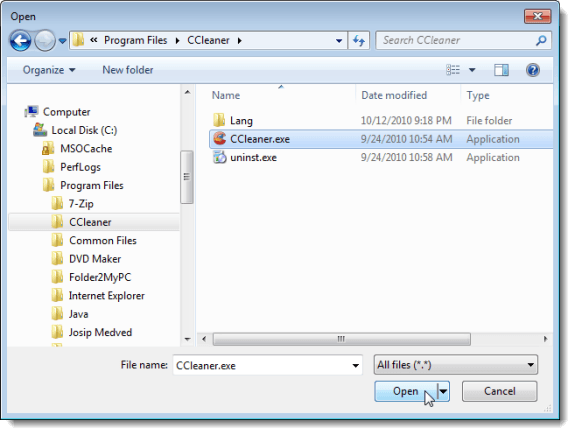
On the Open dialog box, navigate to the folder containing the .exe file for the desired program. Select the .exe file and click Open.
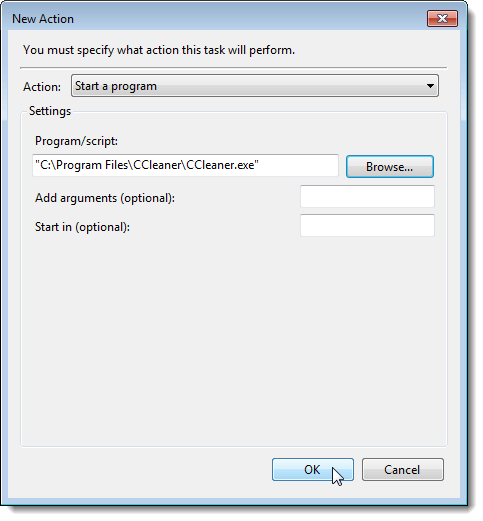
The full path to the selected program is inserted into the Program/script edit box. Click OK.
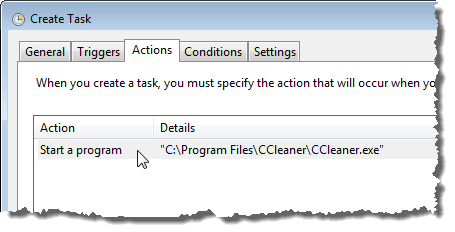
The action is added to the list of actions on the Actions tab.
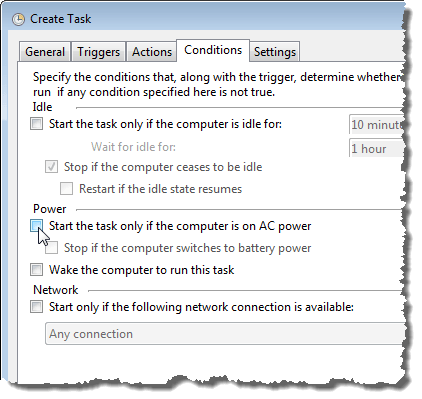
If you are running Windows on a laptop and using battery power, there are a couple of settings you might want to turn off. Click the Conditions tab. In the Power section, first click the Stop if the computer switches to battery power check box so there is no mark in the box. Then, select the Start the task only if the computer is on AC power check box so it is also empty.
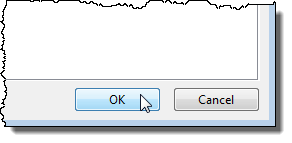
Click OK to close the Create Task dialog box and save your changes.
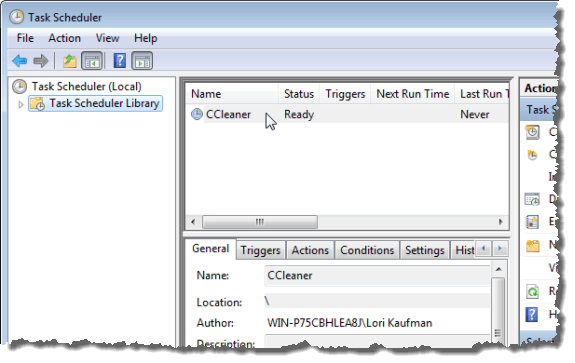
The new task displays in the list in the middle pane on the Task Scheduler main window.
To close the Task Scheduler, select Exit from the File menu.

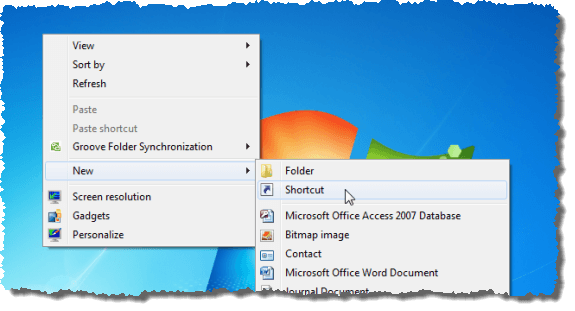
Now, we will create a shortcut on the desktop that will run the new task we created. Right-click in an empty space on the desktop and select New | Shortcut from the popup menu.
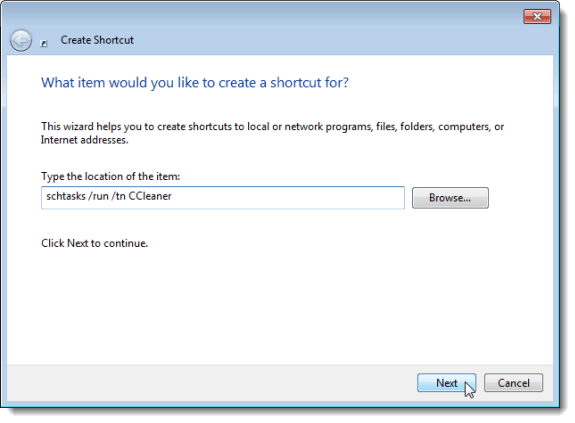
Enter the following line in the Type the location of the item edit box. Replace CCleaner with the name you assigned to your task.
schtasks /run /tn CCleaner
NOTE: There should be one space after schtasks, run and tn.
If you assigned a name with spaces to your task, put quotes around the name, as in the following example.
schtasks /run /tn “My Cleaner Program”
Click Next.
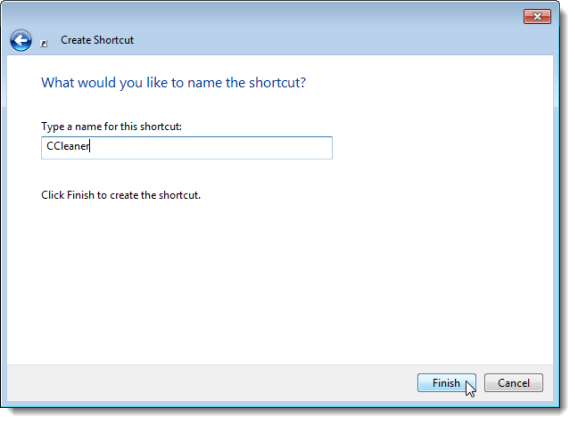
Enter a name for your shortcut in the Type a name for this shortcut edit box. Click Finish.
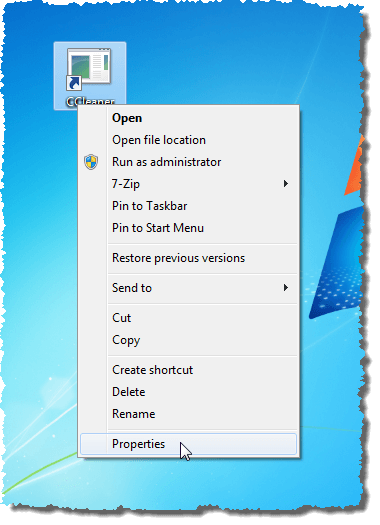
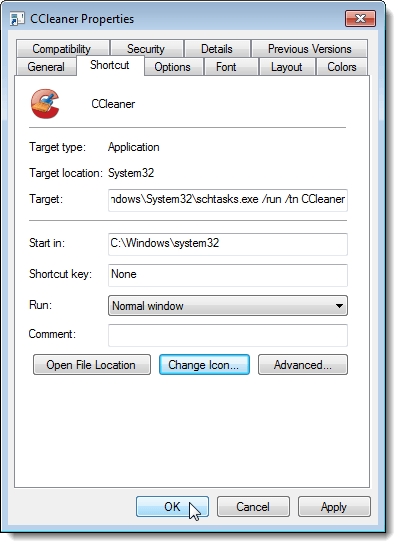
Since the shortcut runs a different Task Scheduler executable file, the icon on the shortcut is not the icon for the program you chose. To change the icon, select Properties from the popup menu.
On the Properties dialog box, make sure the Shortcut tab is active. Click the Change Icon button.
![]()
A dialog box displays telling you that the executable file for the Task Scheduler contains no icons. Click OK to continue.
![]()
We will select the icon from the executable file for which we are creating the shortcut. On the Change Icon dialog box, click the Browse button.
![]()
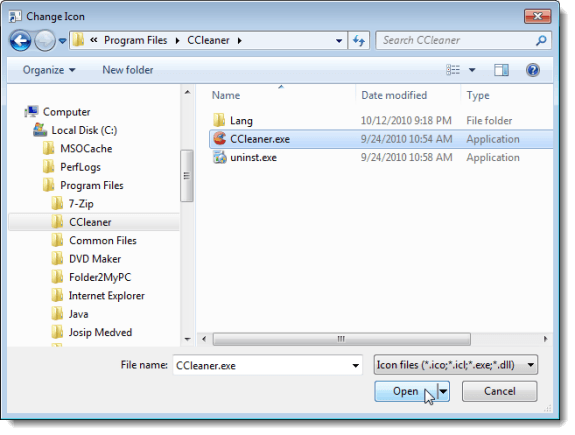
On the dialog box that displays, navigate to the folder containing the executable file for which you are creating the shortcut. Select the .exe file and click Open.
NOTE: If you want to use a different icon other than the program’s icon, navigate to where the desired icon is saved and select it.
The icons available in the selected .exe file display on the Change Icon dialog box. Select an icon and click OK.
![]()
You are returned to the Properties dialog box. Click OK to close it.
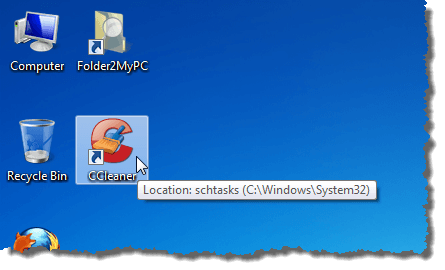
The new shortcut displays on the desktop. Click and drag the shortcut to where you want it located. When you double-click on the shortcut to start the program, you should NOT see the UAC dialog box.
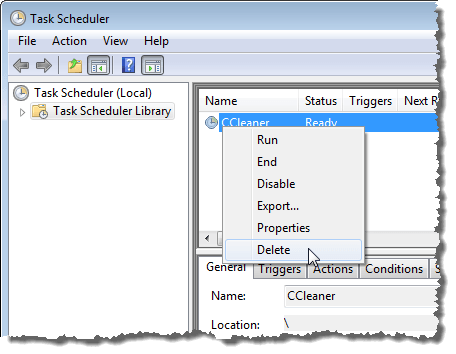
If you no longer need or want the shortcut, you can delete the task and the shortcut. To delete the task, open the Task Scheduler as described earlier in this post. Right-click on the name of the task in the middle pane and select Delete from the popup menu.
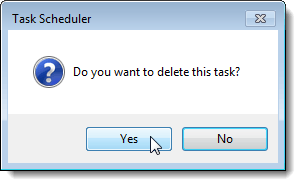
A confirmation dialog box displays. If you are sure you want to delete the task, click Yes.
To delete the shortcut from the desktop, right-click on the shortcut and select Delete from the popup menu.
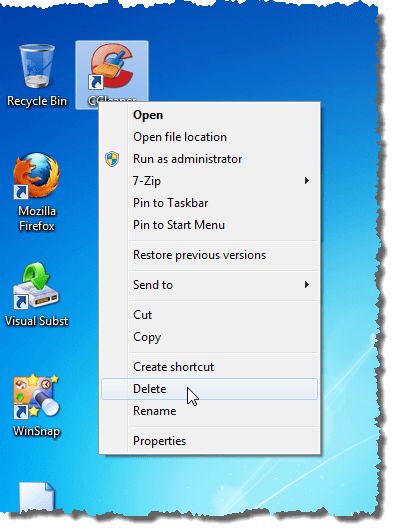
A confirmation dialog box displays. If you are sure you want to delete the shortcut, click Yes.

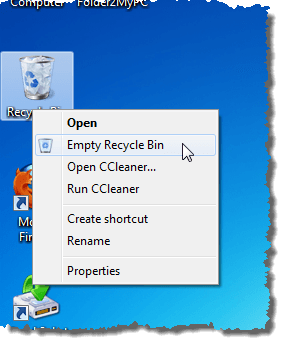
The shortcut has not yet been permanently deleted. It has been moved to the Recycle Bin. To permanently delete the shortcut, right-click on the Recycle Bin and select Empty Recycle Bin from the popup menu.
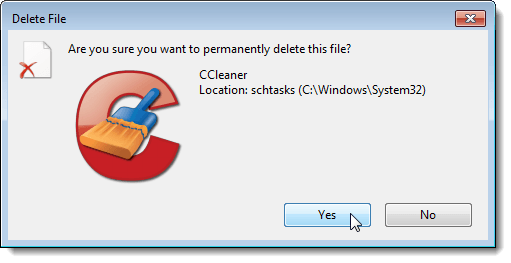
Another confirmation dialog box displays asking if you are sure you want to permanently delete the file, or the shortcut. If you are sure, click Yes.
Be careful when bypassing the User Account Control (UAC) dialog box and allowing programs to have full access to your computer. Be sure you trust the program and that you know what you are doing and what the program is doing. [via Windows Seven Forums]

No comments:
Post a Comment