If you need to know the name of your Ubuntu computer, this post shows you several ways to find it. We will will also show you how to easily change your hostname.
NOTE: The computer name and the hostname are the same thing.
Find Your Hostname
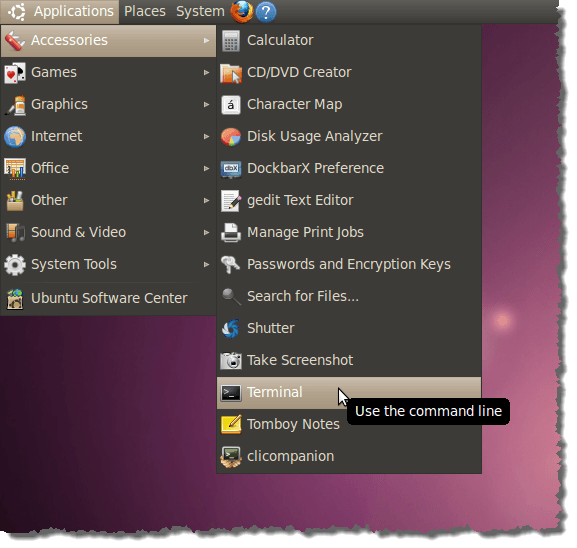
Your hostname can be found in several places. The first place we will look is the Terminal window. To open the Terminal window, select Accessories | Terminal from the Applications menu.
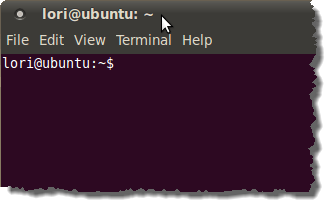
Your hostname displays after your username and the “@” symbol in the title bar of the Terminal window. In our case, our hostname is “ubuntu.” It also displays in the prompt itself.
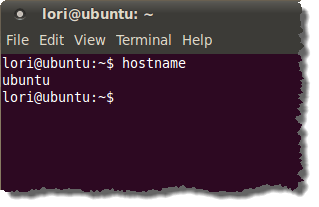
It may seem redundant, as the hostname already displays in the title bar and the prompt, but you can also enter the following command to view the hostname.
$ hostname
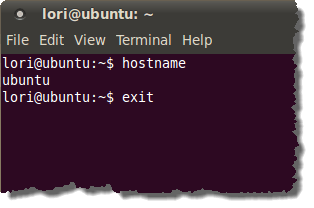
To close the Terminal window, type “exit” (without the quotes) at the prompt and press Enter.
Your username also displays on the login screen. To view this, select Log Out from the Power menu.
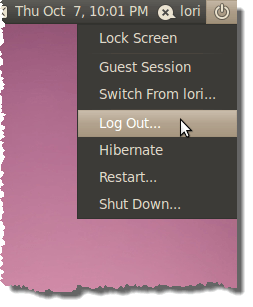
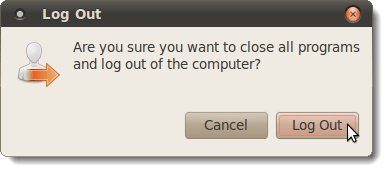
On the Log Out confirmation dialog box, click Log Out.
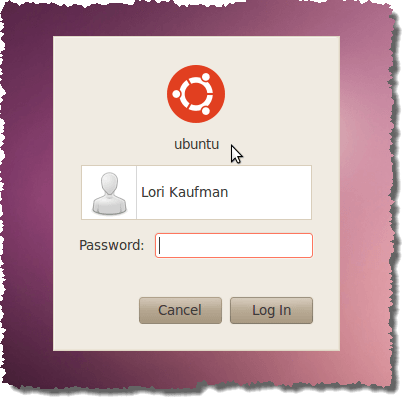
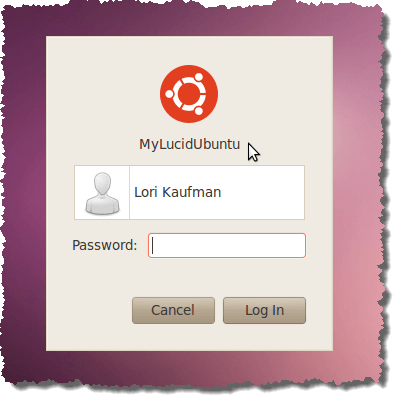
When the login screen displays, notice the hostname under the Ubuntu logo.
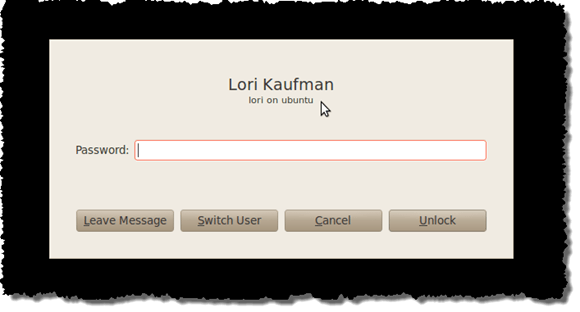
Another place to view the hostname is the Lock Out screen. Select Lock Screen from the Power menu.
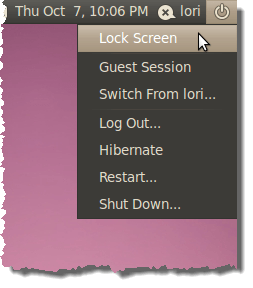
The hostname displays below your full name with your username on the Lock Out screen.
Change Your Hostname
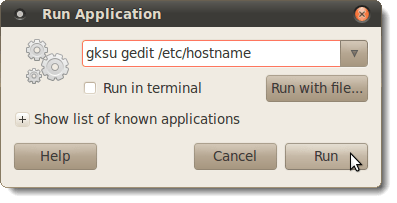
There is a hostname file in the /etc directory that contains your hostname. To change the hostname, you must edit this file. Press Alt + F2 to open the Run Application dialog box. Enter the following line in the edit box and click Run.
gksu gedit /etc/hostname
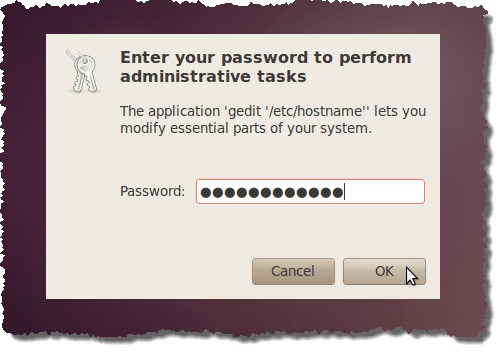
Editing the hostname file requires administrator privileges. Enter your password when prompted and click OK.
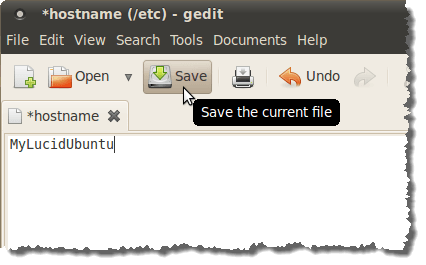
The hostname file opens in gedit. Change the text in the file to your desired hostname and click Save.
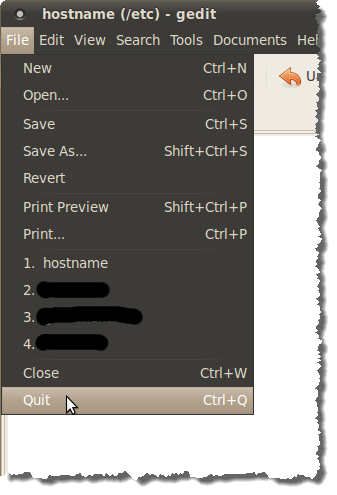
To close gedit, select Quit from the File menu.
There is another file you need to edit. The Ubuntu hosts file is a static table lookup for host names and contains host names mapped to IP addresses. To edit the hosts file, press Alt + F2 and enter the following line in the edit box on the Run Application dialog box.
gksu gedit /etc/hosts
Click Run.

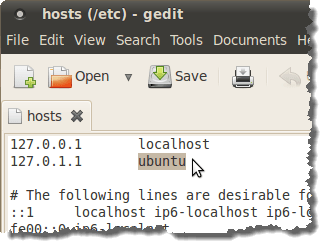
The hosts file open in gedit. Find the line containing your hostname. Highlight the hostname and change it to the same name you used in the hostname file earlier in this post.
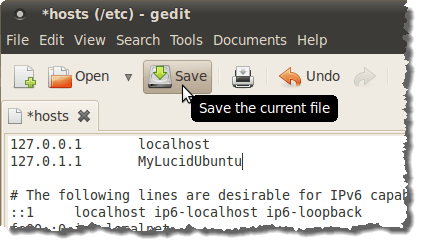
Click Save to save the revised hosts file.
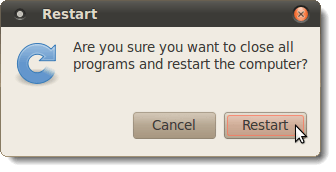
You must reboot your computer for these changes to take effect. Select Restart from the Power menu.
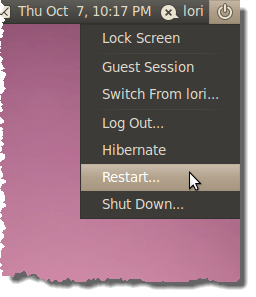
On the Restart dialog box that displays, click Restart.
Your new hostname now displays below the Ubuntu logo on the login screen.
The new hostname displays on the Terminal window and on the Lock Out screen as well.
This procedure for viewing and changing the hostname is the same in the newly released Ubuntu 10.10 Maverick Meerkat.

No comments:
Post a Comment