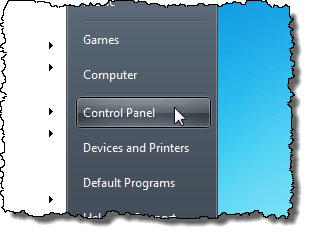
However, you can repair Office 2010 using the Programs and Features tool in the Control Panel. To do this, click Control Panel on the Start menu.
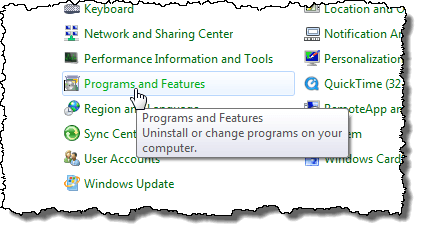
The Programs and Features link is easier to find in the Control Panel if you choose to display all the tools and not the categories. To do this, select Large icons or Small icons from the View by drop-down list.
![]()
Click the Programs and Features link.
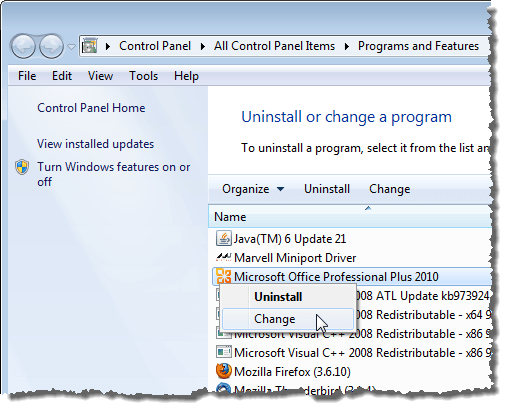
Find your version of Microsoft Office 2010 in the list of programs installed on your computer. Right-click on the name and select Change.
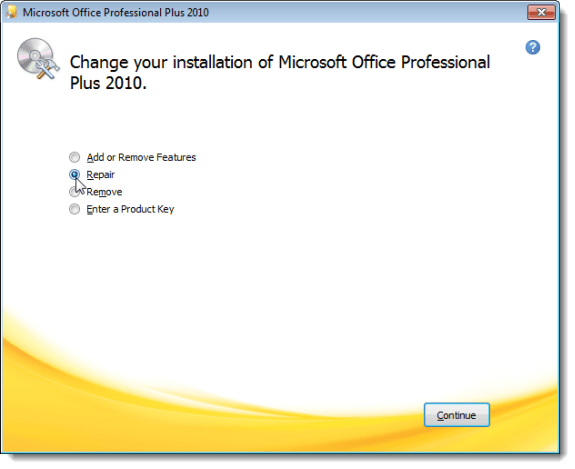
A dialog box displays allowing you to change your installation of Microsoft Office 2010. You can Add or Remove Features, Repair the installation, Remove Office 2010, or Enter a Product Key. Select Repair and click Continue.
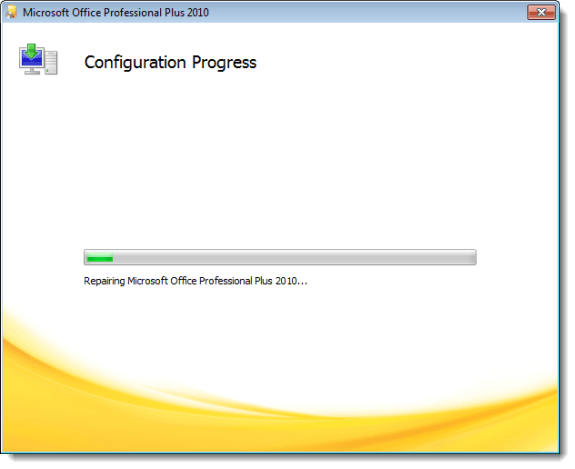
The progress of the repair, or the Configuration Progress, displays. This may take a while.
When the configuration is complete, click Close.

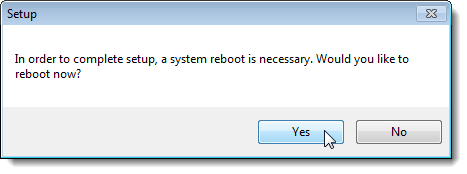
The final screen of the configuration process recommends that you exit and restart any open Office programs. However, you may need to reboot your computer. If you the following dialog box displays, and you still have some programs open, click No and proceed to close all open programs. Then, reboot your computer manually.
If you do not have any programs open, you may click Yes to reboot your computer immediately.
This method of repairing Office 2010 does not provide detailed test results like the Microsoft Office Diagnostics tool available in Office 2007, but hopefully it will fix your installation of Office 2010.

No comments:
Post a Comment