If you want to add your own applications to the Control Panel or add folders and applications to the Computer window, there is a free utility, called Folder2MyPC, that can help you do just that.
Download Folder2MyPC from
http://eng.softq.org/folder2mypc
NOTE: The version of Folder2MyPC we discuss in this post was written for Windows Vista, according to the author of the software. We tested in Windows 7. It worked with some idiosyncrasies that we point out in the post. Folder2MyPC also only works in 32-bit versions of Windows.
Install Folder2MyPC
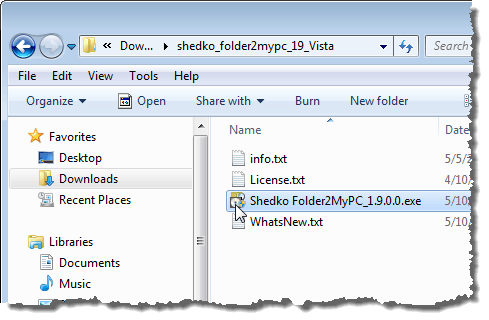
To install Folder2MyPC, unzip the file you downloaded and double-click on the .exe file.
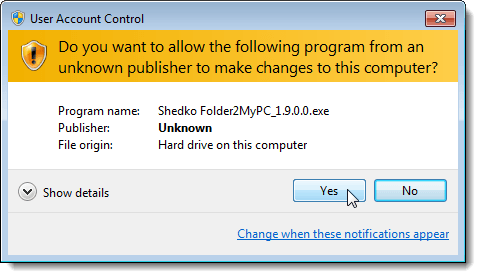
If the the User Account Control dialog box displays, click Yes to give the Folder2MyPC installation permission to run.
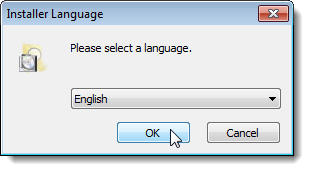
On the Installer Language dialog box, select the desired language and click OK.
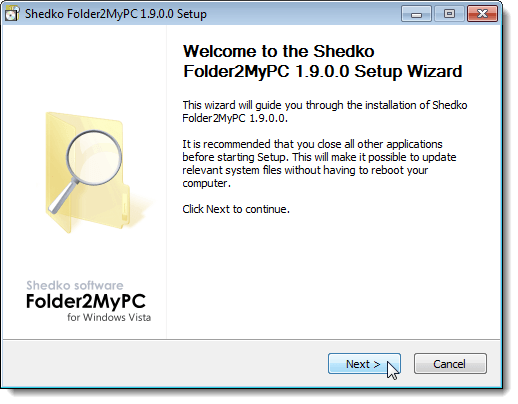
The Welcome screen of the Setup Wizard displays. Click Next.
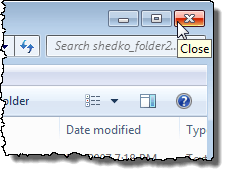
It is recommended that you close all other programs while installing Folder2MyPC. To close the Explorer window, click the X button in the upper, right corner. Close any other programs you might have open.
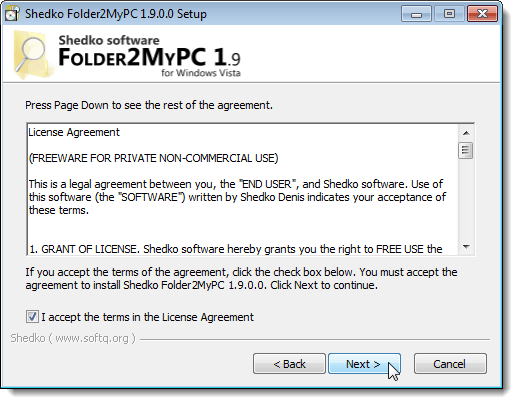
Read through the License Agreement and select the I accept the terms in the License Agreement check box. Click Next.
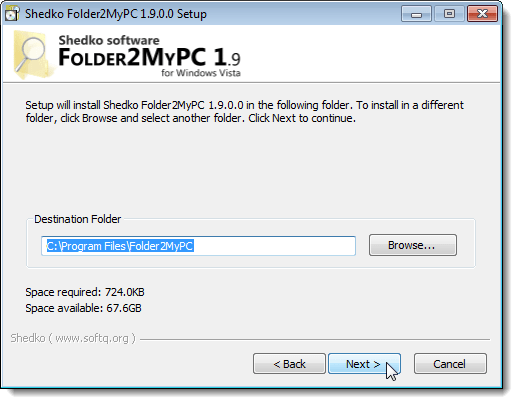
If you want to install Folder2MyPC to a different location other than the default folder, use the Browse button to select another location. We accepted the default location. Click Next.
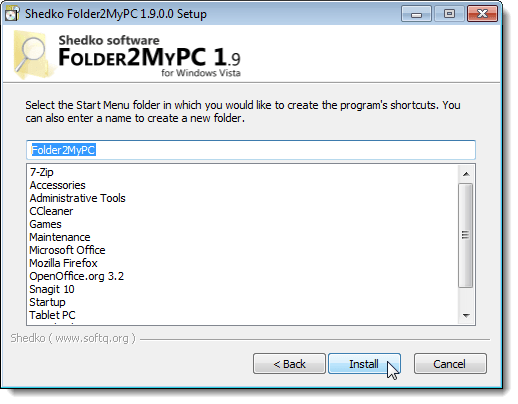
Select a Start menu folder in which to create the shortcuts for Folder2MyPC. Again, we accepted the default Start menu folder. Click Install to begin the installation.
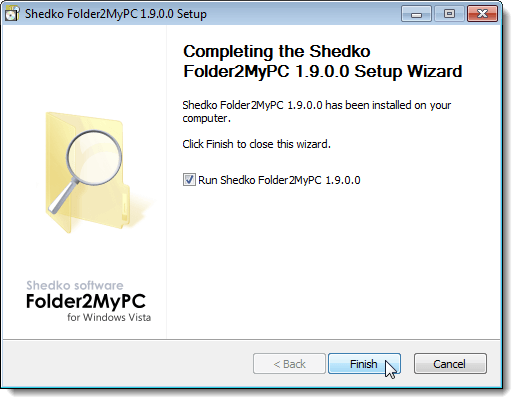
By default the Run Shedko Folder2MyPC 1.9.0.0 check box is selected, so Folder2MyPC starts immediately after closing the Setup Wizard. Accept that default and click Finish.
Add a Folder to the Computer Window
Once Folder2MyPC starts, the main windows displays with the Create Folder screen active. To create a new folder to add to the Computer window, click the Browse button next to the Create a shortcut for folder edit box.
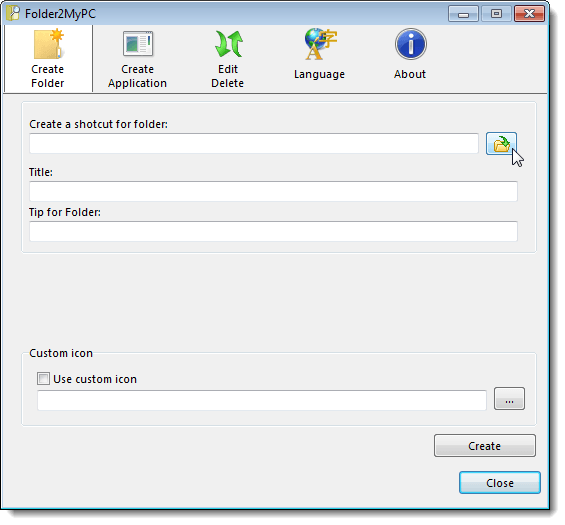
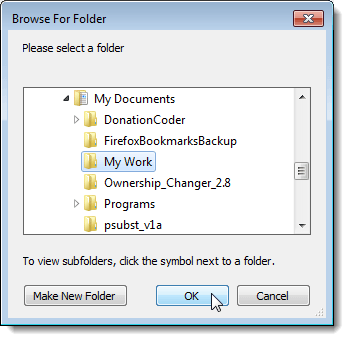
On the Browse For Folder dialog box, navigate to the folder you want to add to the Computer window, select it, and click OK.
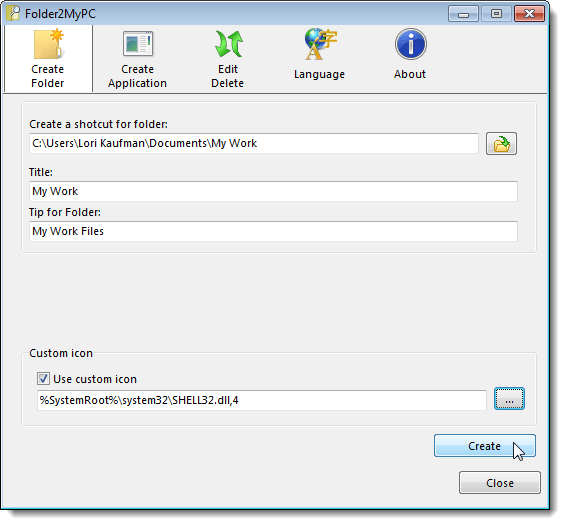
The path to the selected folder is automatically inserted into the Create a shortcut for folder edit box. Enter a name for the shortcut in the Title edit box and a short description for the shortcut in the Tip for Folder edit box.
To use a custom icon for the folder, select the Use custom icon check box and click the … button to the right of the edit box.
![]()
By default, the Change Icon dialog box displays icons available in the SHELL32.dll file that is part of Windows. If you want to select an icon from another file, use the Browse button. We selected a folder icon from the default file. Click OK once you have selected your icon.
![]()
Once you have provided all the information about the folder you want to add to the Computer window, click the Create button.
A dialog box displays telling you the folder was successfully created. Click OK.

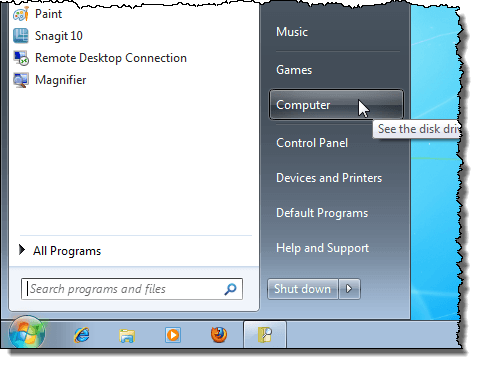
Open the Computer window by selecting Computer from the Start menu.
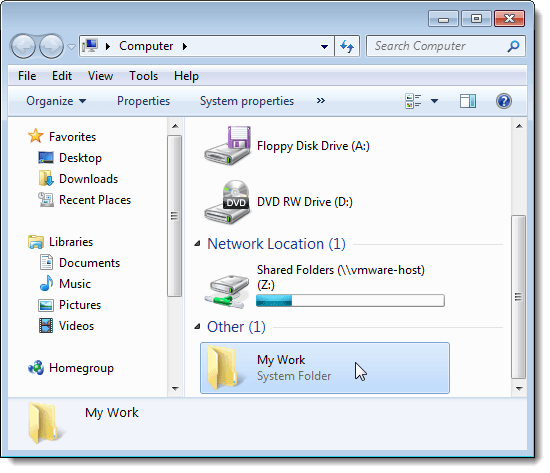
The custom folder you added to the Computer window displays in the Other category.
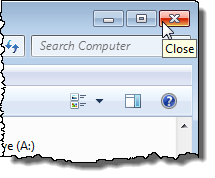
To close the Computer window, click the X button in the upper, right corner of the window.
Add an Application to the Control Panel or the Computer Window
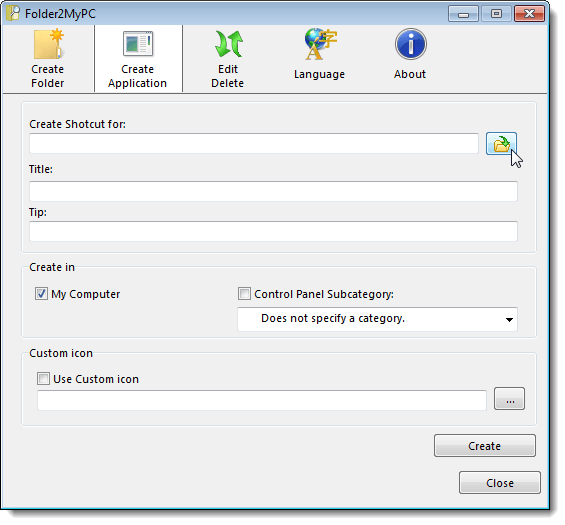
To add an application to the Control Panel or the Computer window, or both, click the Create Application button at the top of the Folder2MyPC window. Click the Browse button to the right of the Create Shotcut [Shortcut] for edit box.
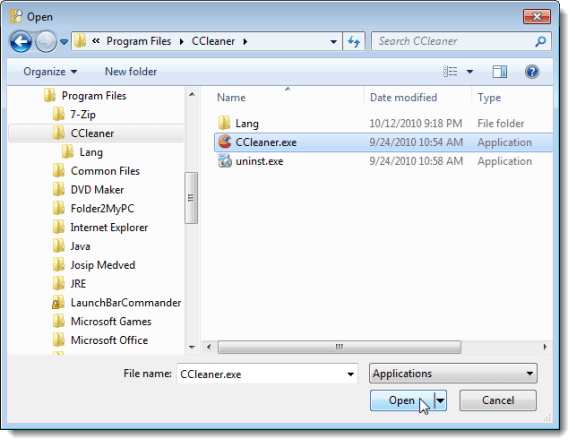
The Open dialog box displays. Navigate to the folder containing the executable (.exe) file for the application you want to add as a shortcut. Select the application’s .exe file and click Open.
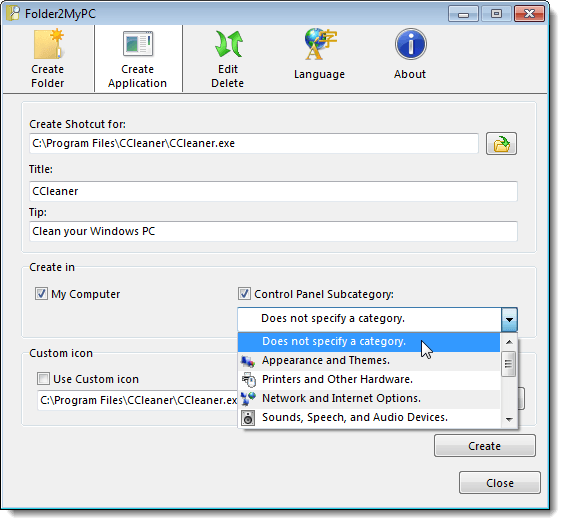
The path to the application’s executable file is automatically inserted into the Create Shotcut [Shortcut] for edit box. Enter a name for the shortcut in the Title edit box and a short description for the shortcut in the Tip edit box.
In the Create in box, select My Computer to add the application shortcut to the Computer window and select the Control Panel Subcategory check box to add the application shortcut to the Control Panel. If you are using Windows 7, we advise you to select the Does not specify a category option from the drop-down list below the Control Panel Subcategory check box for the reasons listed in the NOTE below. If you are using Windows Vista, you can choose a subcategory from the drop-down list.
NOTE: This version of Folder2MyPC was written for Windows Vista. Therefore, the subcategories listed seem to match the categories in Windows Vista more than they do Windows 7. If you select not to specify a category, the application shortcut will be placed on the main Control Panel screen, available when viewing small or large icons.
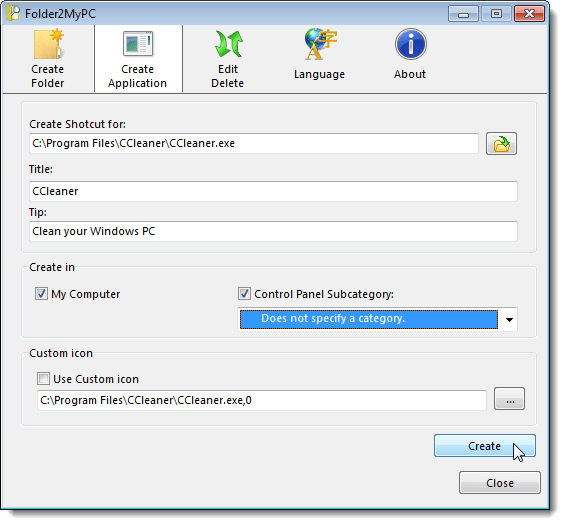
When creating shortcuts for applications, by default, Folder2MyPC uses the icon on the application’s executable file. We accepted that default.
When have provided all the necessary information, click the Create button.
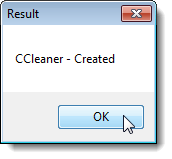
A dialog box displays telling you that the application shortcut was successfully created. Click OK.
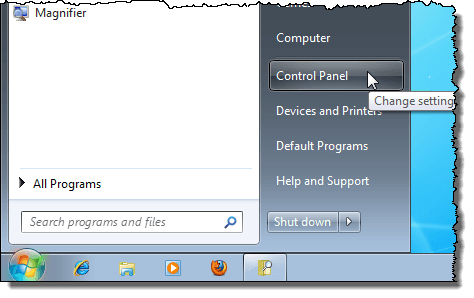
To open the Control Panel, select Control Panel from the Start menu.
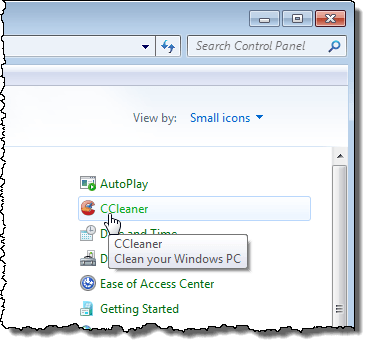
To see your custom application shortcut in the Control Panel, you must change the view. Select either Large icons or Small icons from the View by drop-down list to view all the Control Panel items.
![]()
Now, you should see your custom application shortcut in the Control Panel. Simply click on the link to start the application.
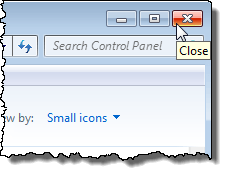
To close the Control Panel, click the X button in the upper, right corner of the window.
Edit a Folder or Application
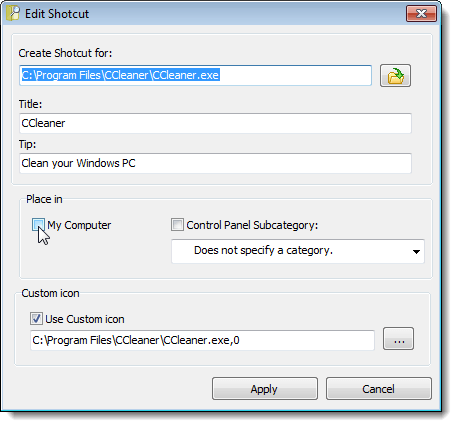
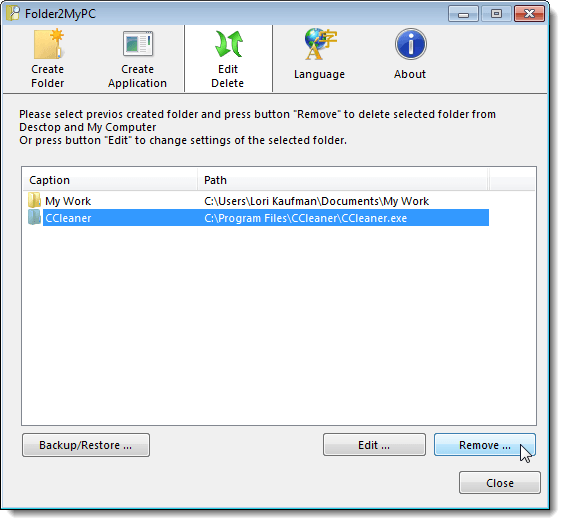
Once you have created custom folder shortcuts and application shortcuts, you can edit the properties of them in Folder2MyPC. To edit a folder shortcut or application shortcut, click the Edit Delete button at the top of the Folder2MyPC main window. Select the shortcut you want to edit from the list and click Edit.
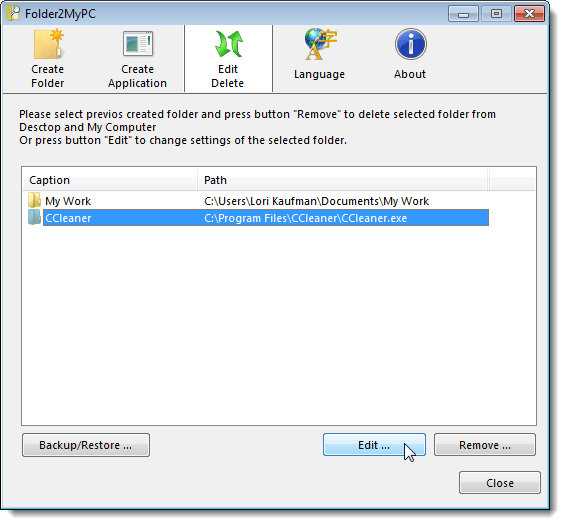
The Edit Shortcut dialog box displays. Change the desired settings and click Apply. See the following NOTE about the Place in options. Clicking the Apply button does not close the dialog box. To close the dialog box after applying your changes, click Cancel.
NOTE: For some reason, when you edit an application shortcut, the My Computer and Control Panel Subcategory check boxes in the Place in box are unchecked, even if you had checked them originally. If you are going to make changes to the shortcut, be sure to check the desired Place in options before clicking Apply.
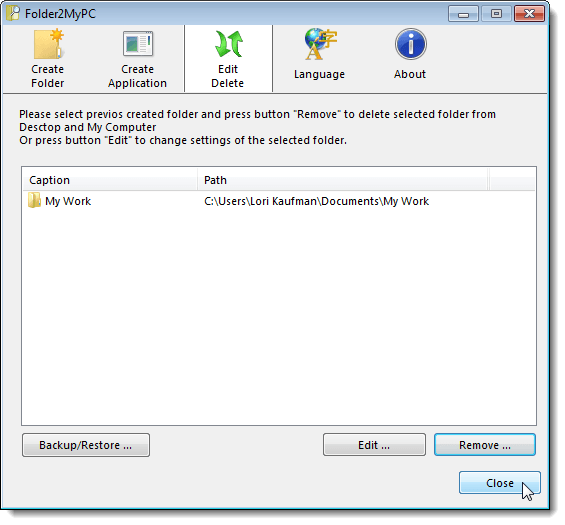
Remove a Folder or Application
To remove a folder or application from the Control Panel or the Computer window, click the Edit Delete button at the top of the Folder2MyPC main window, if the Edit Delete screen is not already active. Select the shortcut you want to remove from the list and click Remove.
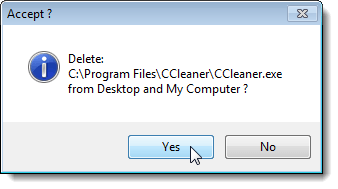
A confirmation dialog box displays. If you are sure you want to remove the selected shortcut, click Yes.
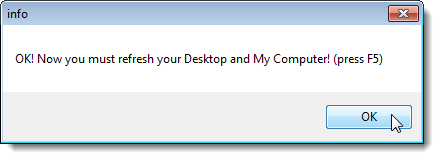
A dialog box displays telling you that must refresh the Control Panel and the Computer window to have your changes take effect. Click OK.
To refresh the Control Panel or the Computer window, press F5 on either window or close the window and reopen it.
To close Folder2MyPC, click Close.
NOTE: There is a backup and restore feature on the Edit/Delete screen that was added as of the 1.8.5 version. However, we did not bother covering it in this post. The WhatsNew.txt file that comes with the installation file says the Backup/Restore function is for backing up your added items before you reinstall Windows and restoring them after reinstallation.
We could not find out where the backup is stored so we could transfer the backup to an external drive. Despite this, we found Folder2MyPC to be a useful program. We did test it in a version of Windows in which the authors of the software did not say it would work, but it did anyway.
Using Folder2MyPC to add a folder to My Computer is similar to assigning a drive letter to a folder, as discussed in our previous post, Assign Drive Letters to Folders in Windows. The major difference is that when you use Folder2MyPC, the folder is available under the Other category and does not have a drive letter assigned to it.
When you use the subst command, as discussed in the previous post, the folder is available under the Hard Disk Drives category with a drive letter.
There is a separate version of Folder2MyPC available for Windows 2000 and Windows XP, which can be downloaded from the same page as the version meant for Windows Vista.

No comments:
Post a Comment