There are several tools available for taking screenshots in Linux. Different ones are available for Gnome (Take Screenshot), KDE (KSnapshot), and other Linux window managers and also for different Linux distributions.
However, sometimes you may need a quick and easy method to take screenshots without the overhead of a graphical tool. You can use the command line to take screenshots. This is especially useful if you are using a lightweight windows manager or Linux distribution on a relatively low-end computer.
This two-part series of posts shows you two methods for using the command line to take screenshots in Ubuntu 10.10.
Use the import Command
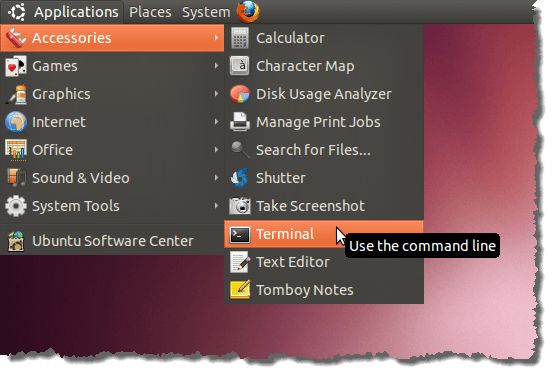
The first method, is the import command, and it is already available in Linux. To use this command, select Accessories | Terminal from the Applications menu.
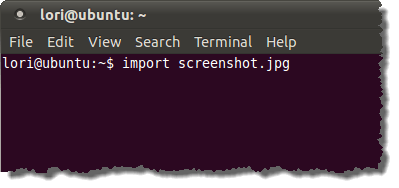
Enter the following command at the prompt in the Terminal window and press Enter.
$ import screenshot.jpg
You can change screenshot.jpg to any file name you want. You can also use a different extension to take the screenshot in a different format, such as .png.
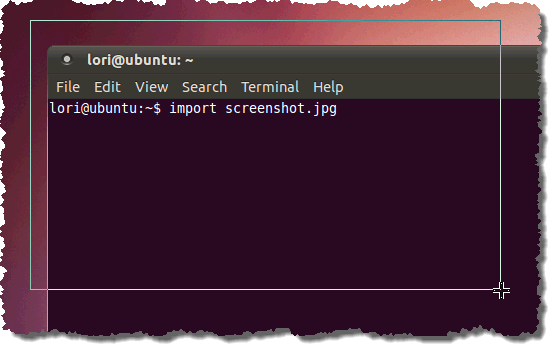
The cursor becomes a crosshair icon. Drag the cursor around the area of the screen you want included in your screenshot.
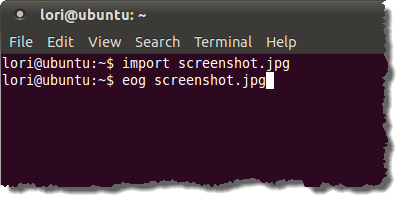
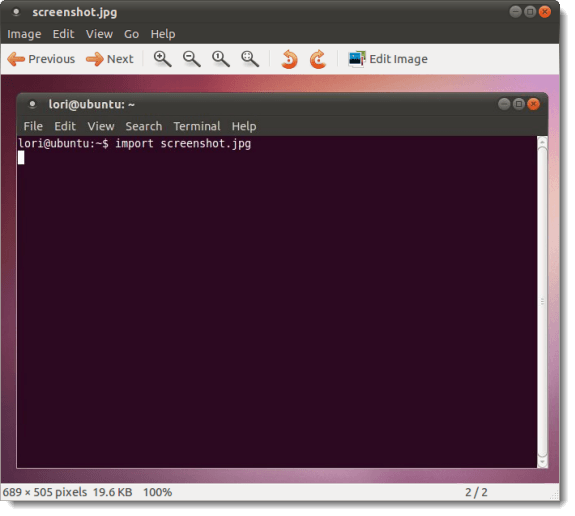
When you release the mouse cursor, the screenshot is taken and a file is written to your home directory, by default. Enter the following command to view the screenshot in an image viewer.
$ eog screenshot.jpg
NOTE: Again, use the filename you specified in the import command. The command “eog” stands for Eye of Gnome, which is an image viewer that comes with the Gnome desktop.
The screenshot opens in the Eye of Gnome image viewer. To close the viewer, select Close from the Image menu.
Install scrot
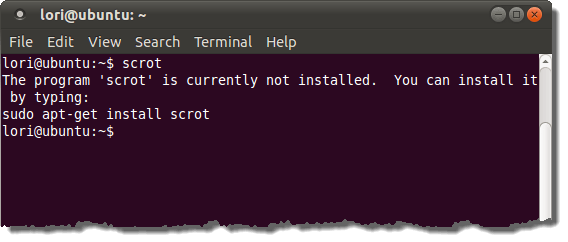
The second command line tool for taking screenshots using the command line is called scrot. To check if scrot is installed, open a Terminal window as described above, if there is no Terminal window open. Type “scrot” (without the quotes) at the command prompt and press Enter. If scrot is not installed, a message displays telling you the command to install it.
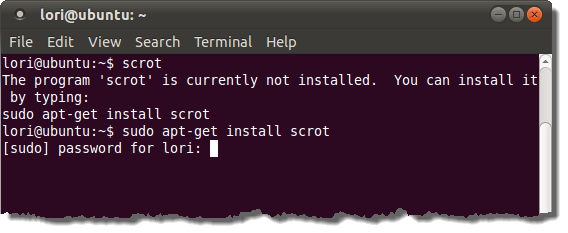
Enter the listed command at the prompt and press Enter.
$ sudo apt-get install scrot
Enter your password when prompted.
Clear the Terminal Window
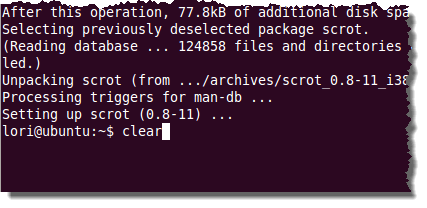
Before continuing, we cleared our Terminal window to make it easier to start with a fresh Terminal window without opening another one. To do this, enter “clear” (without the quotes) at the command prompt and press Enter.
Run scrot in a Terminal Window Manually
You can run scrot from a command line and then quickly hide the Terminal window. For example, you can enter the following command at the command prompt to take a screenshot of the currently focused window.
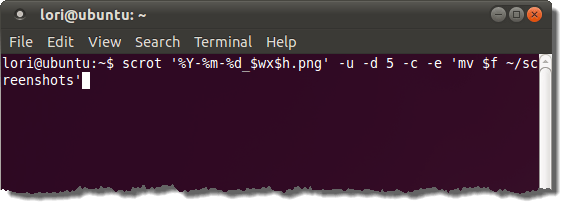
scrot ‘%Y-%m-%d_$wx$h.png’ -u -d 5 -e ‘mv $f ~/screenshots’
The above command takes a screenshot of the current window (-u), using a 5 second delay (-d 5), and then moves the screenshot to the screenshots directory in the home directory (-e ‘mv $f ~/screenshots’). The file will be named with the date and the width and height of the image 2011-01-15_2560×1024.png (‘%Y-%m-%d_$wx$h.png’). If you want a longer delay before the screenshot is captured, change the 5 after the –d to a different value.
NOTE: Once you press Enter after typing the command, you must quickly minimize the Terminal window first or more it out of the way and then click on the window you want to capture to bring focus to it, all within the countdown time you specified.
If you want to run scrot this way, we recommend you install a drop-down Terminal window program that allows you to use the keyboard to quickly show and hide the Terminal window. We wrote about one for Gnome called Guake, in our post, Install a Drop-Down Terminal Window in Ubuntu. If you are using Kubuntu, there is a similar program called Yakuake.
Wrap Up
This was the first post in a two-part series about two methods for using the command line to take screenshots in Ubuntu 10.10.
In this post, we covered using the import command, installing scrot, and running scrot in a Terminal window manually.
Stay tuned for Part II, where we will cover creating and using a launcher to easily run scrot, displaying a countdown before capturing a screenshot, and getting help about scrot.

No comments:
Post a Comment